DIY Outdoor Lighting: Plan, Install, and Illuminate Your Yard
Published on
June 16, 2025 at 8:23:33 AM PDT June 16, 2025 at 8:23:33 AM PDTth, June 16, 2025 at 8:23:33 AM PDT

Outdoor lighting is one of the most rewarding DIY projects you can tackle in your landscape. Not only does it improve the beauty and ambience of your outdoor space, but it also enhances safety, usability, and curb appeal. Whether you're lighting a garden path, deck stairs, or creating a stunning nightscape with spotlights and string lights, this guide will walk you through everything you need to know to plan and install your outdoor lighting like a pro.
Why Outdoor Lighting Matters
Outdoor lighting isn't just about visibility—it's about transformation. Done right, it can:
- Highlight your home’s best features
- Make your yard feel cozy and secure at night
- Prevent trips and falls on paths and stairs
- Extend the time you can enjoy your outdoor space
From energy-efficient outdoor LED lights to elegant sconces, the possibilities are vast. But like any good DIY project, success starts with a plan.
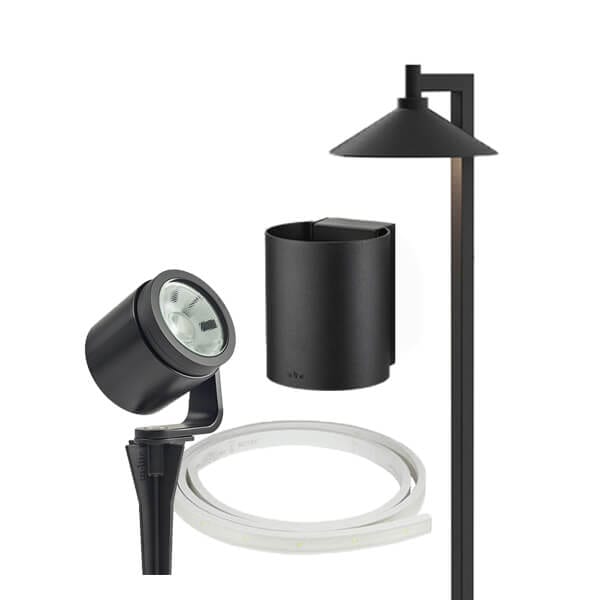
Shop Outdoor Lighting Online!
Van Beek's has an extensive selection of outdoor lighting products, from outdoor spot lights to led strip ligts and more! Available to buy online for delivery or pick up.
Shop NowStep 1: Sketch Your Outdoor Lighting Plan
Start with a simple sketch of your yard. It doesn’t need to be architectural—just a top-down layout that includes key features like:
- Pathways, driveways, and stairs
- Patios, decks, pergolas, and fences
- Trees, garden beds, ponds, or sculptures
Now, mark areas that would benefit from lighting:
- Safety: steps, walkways, doorways
- Accent: trees, architectural details, landscape beds
- Functionality: patio seating, outdoor kitchens
This becomes your lighting plan—your roadmap to choosing the right fixtures and where to place them.
Step 2: Choose the Right Outdoor Lights
With your sketch in hand, it's time to bring your vision to life by selecting the right fixtures for each area of your yard. Choosing the proper type of light not only enhances functionality but also sets the tone and character of your outdoor space. Let’s break down the best options based on their purpose and placement.
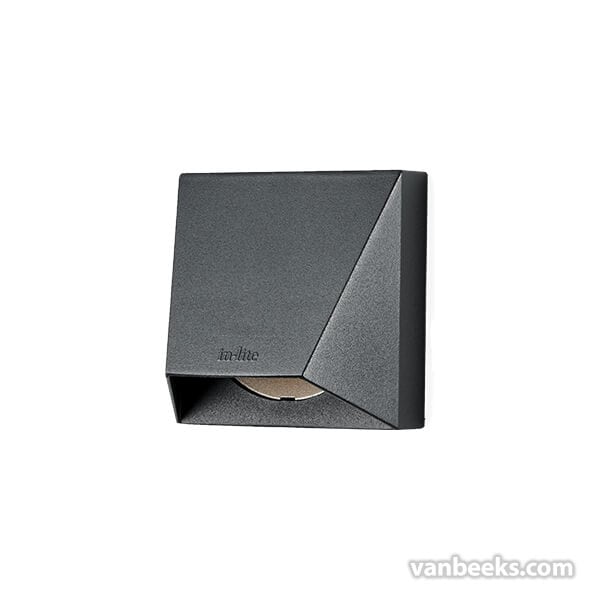
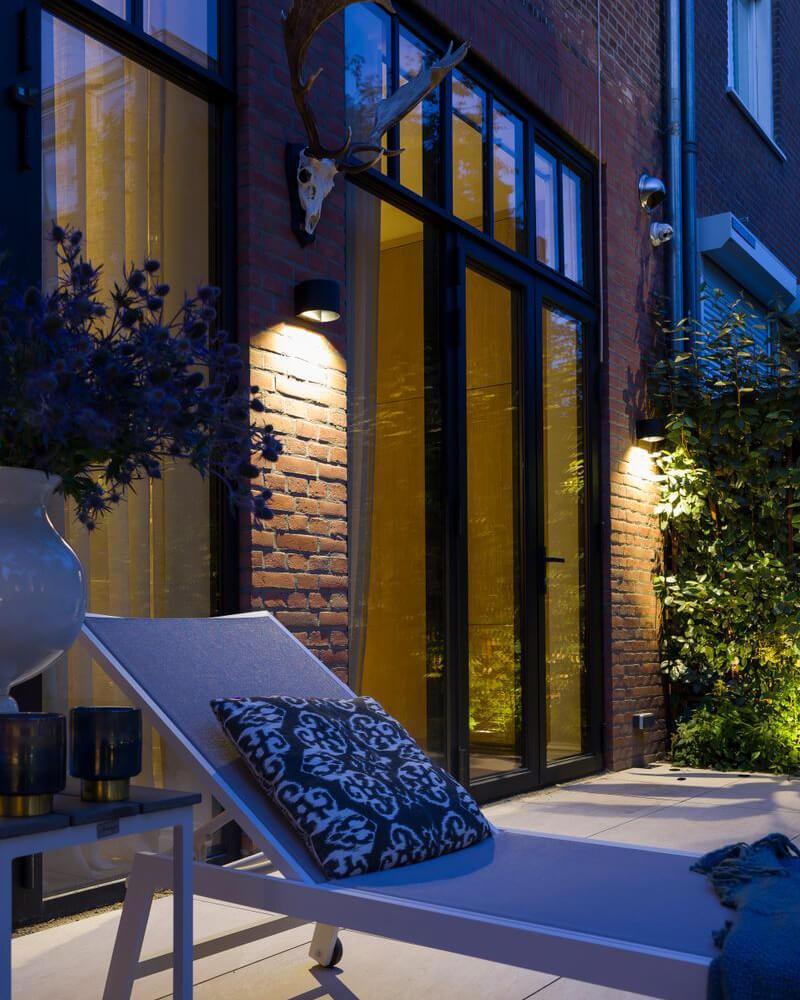
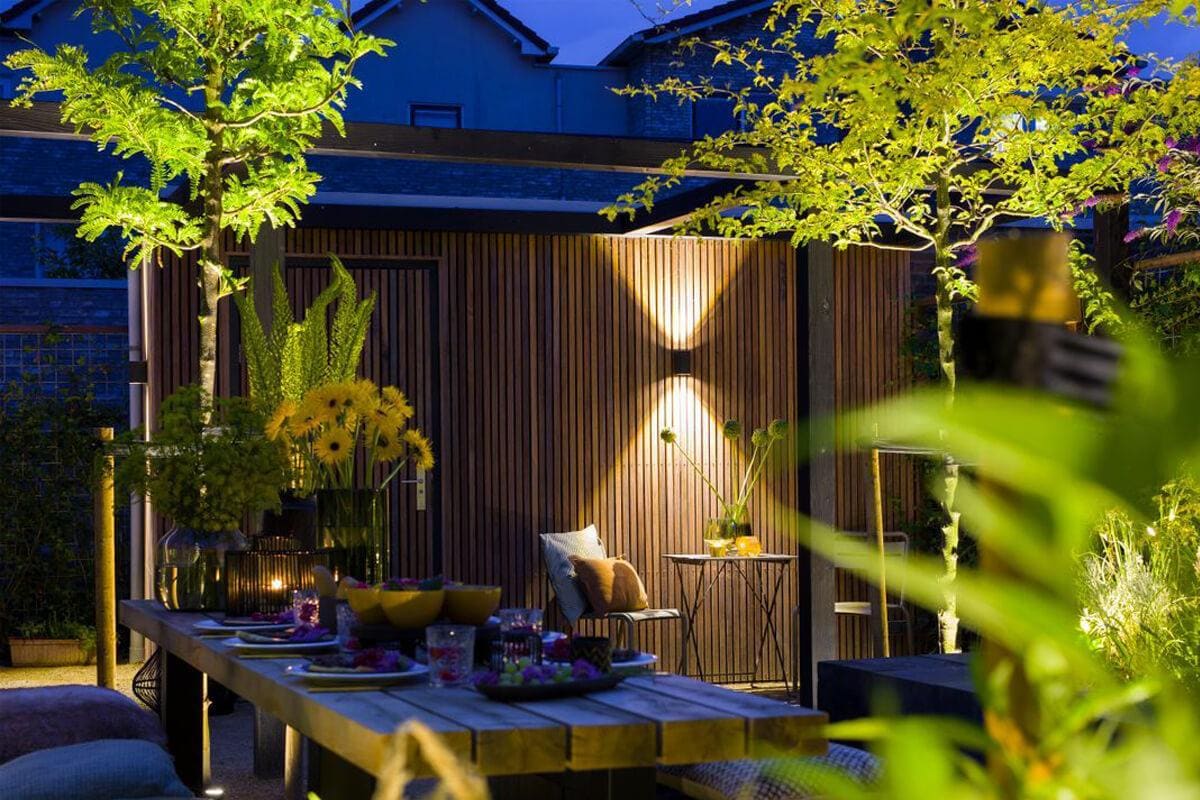
Wall Lights & Outdoor Wall Sconces
Wall-mounted lights are both functional and decorative. Ideal for fences, house exteriors, garage doors, and gateposts, wall sconces provide a warm, welcoming glow that instantly boosts curb appeal.
Best uses
- Flanking your front door for balanced symmetry
- Lighting up fence lines or garden walls
- Enhancing nighttime security in low-visibility areas
Pro Tip: Choose down-facing wall lights for a modern look, or up/down lights for architectural flair. Opt for LED fixtures for efficiency and longevity.
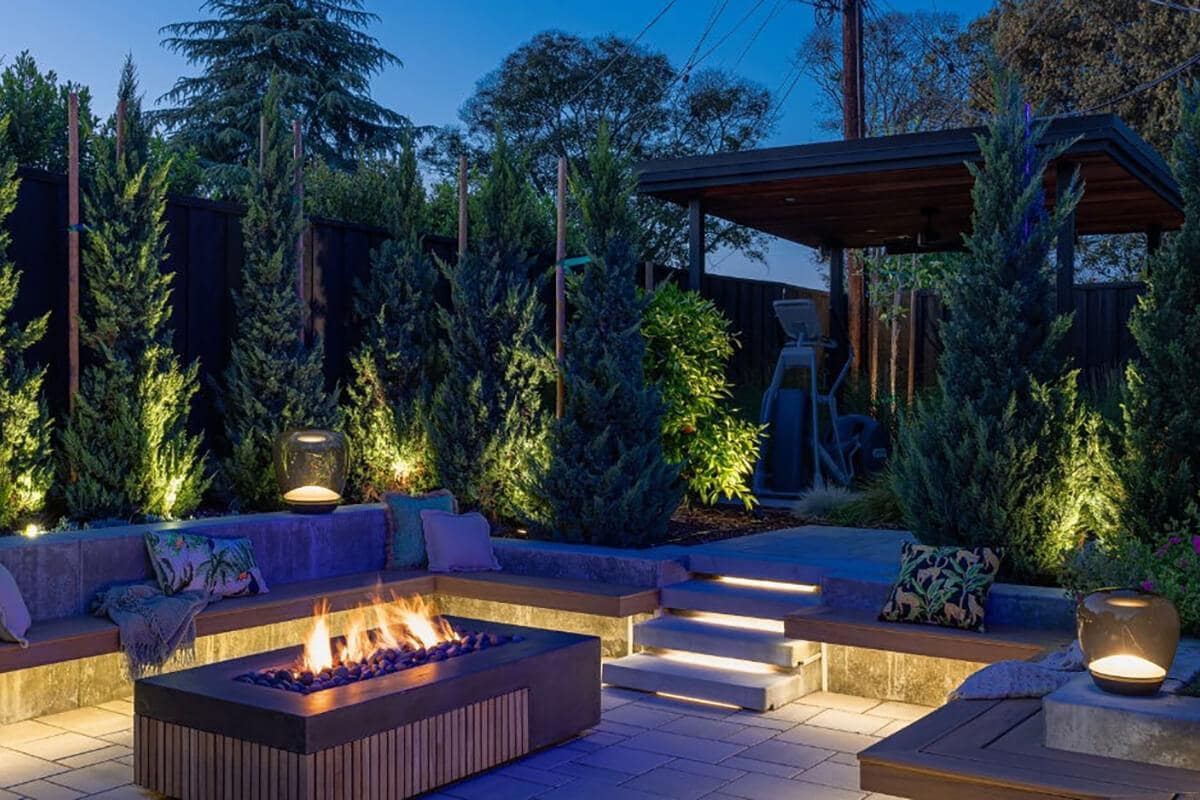
Deck Stair Lighting & Exterior Stair Lights
Safety meets style with stair lighting. Deck stairs lights help prevent accidents by guiding the way in the dark while also elevating the visual impact of your deck or patio area.

Installation Tips:
- Mount directly into stair risers or on vertical posts
- Space evenly, approximately 4–5 feet apart
- Choose warm white tones to reduce glare
Design Idea: Use recessed step lights for a flush, modern look or small directional fixtures to create soft pools of light that gently wash over each step.
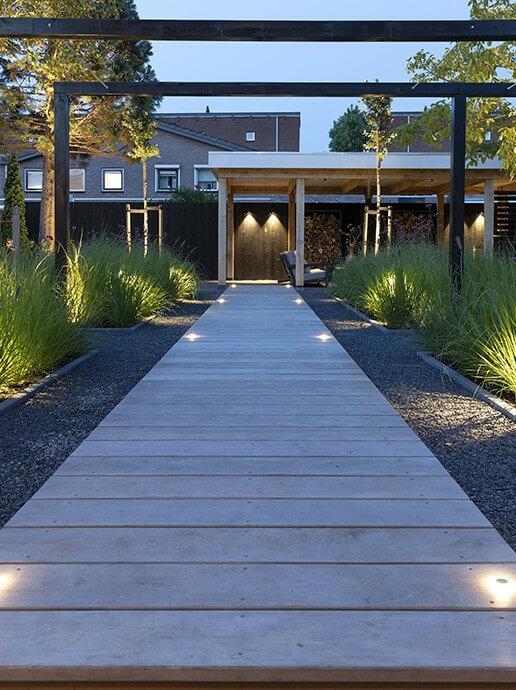
Path Lights: Recessed & Standing Styles
Path lighting is essential for both safety and ambiance. Whether you’re lining a garden walkway, illuminating a gravel path, or guiding guests along a driveway, path lights help define direction and add soft, welcoming light where you need it most.
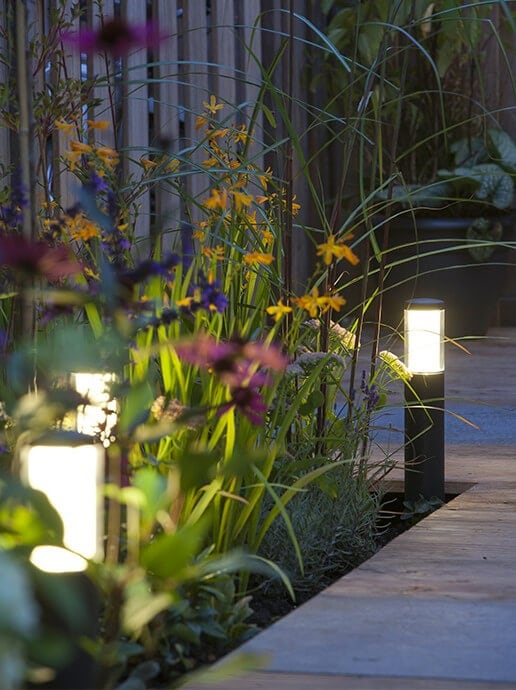
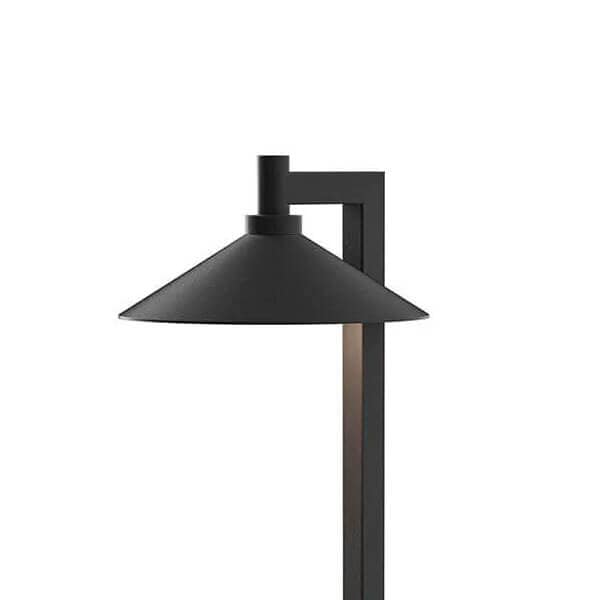
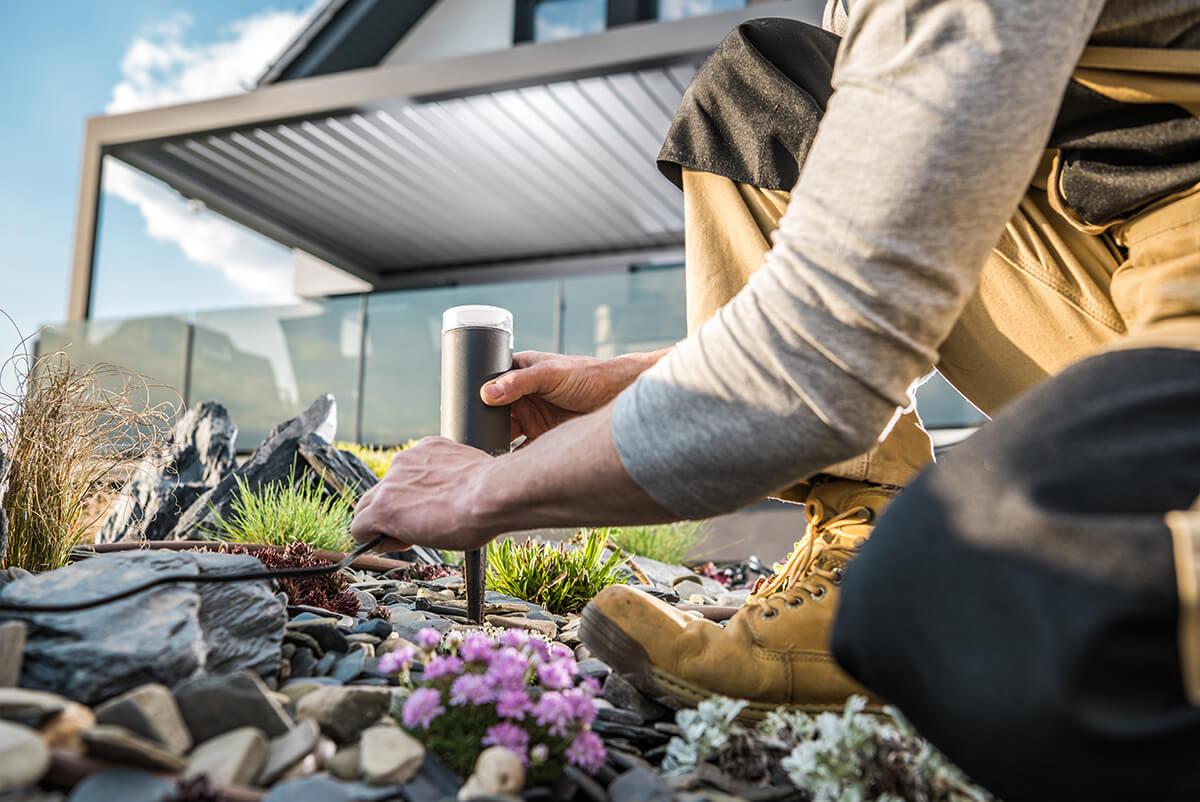
Standing Path Lights
Standing fixtures feature a sleek, upright design. They’re typically mounted on stakes and installed into soil, mulch, or gravel.
Benefits:
- Easy to install and reposition
- Provides broad light spread over paths, lawns, or plant beds
- Stylish addition to modern and traditional landscapes
Installation Tips:
- Space lights 6 to 8 feet apart for continuous illumination without overpowering brightness
- Place lights slightly off-center to avoid the “runway” look
- Use in-lite or Kichler low-voltage fixtures for efficient, long-lasting performance
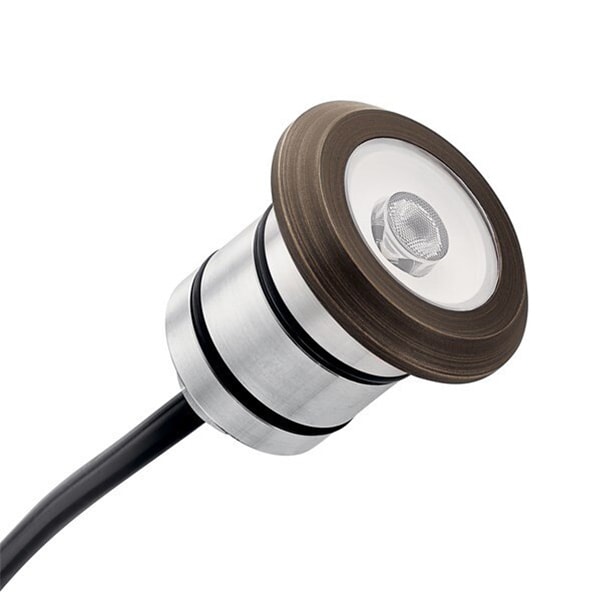
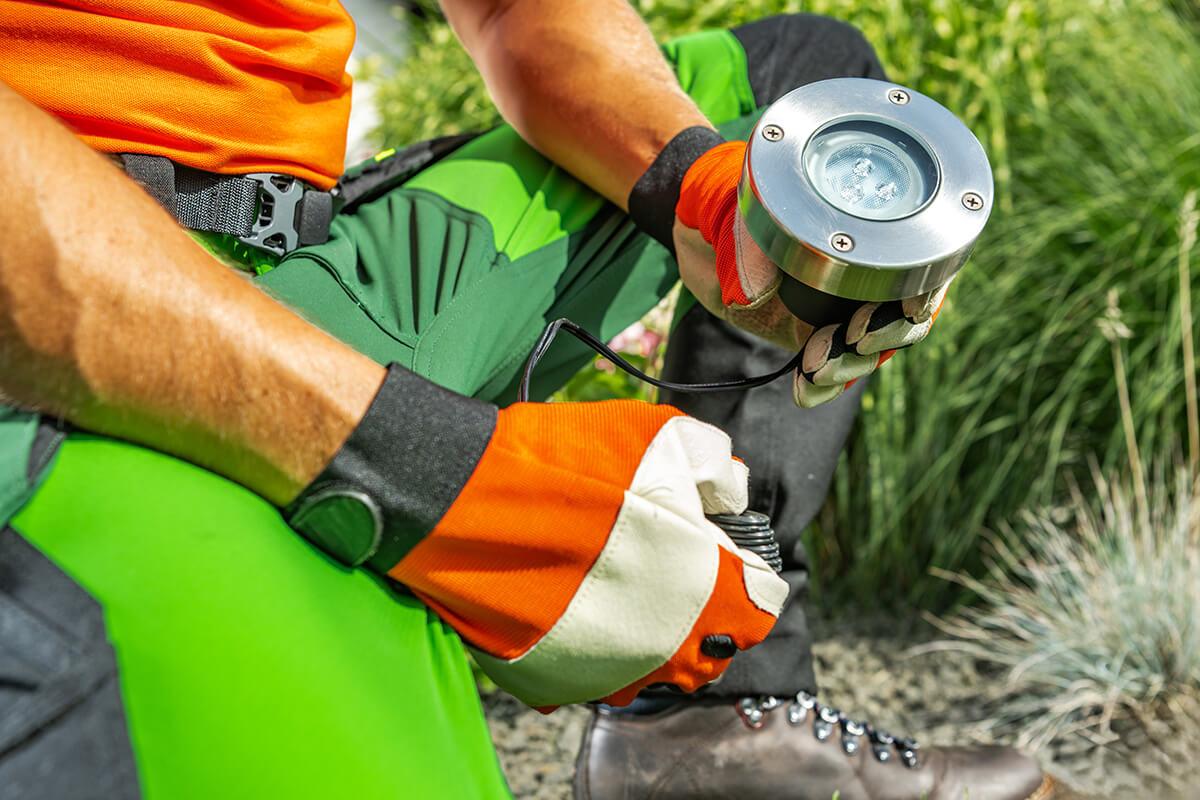
Recessed Path Lights
For a clean, minimalist look, recessed lights are installed flush with hard surfaces like stone walkways, decks, or concrete paths.
Best For:
- Sleek patios or minimalist landscapes
- Stone or wood pathways where protruding fixtures may be a hazard
- Adding light to stair risers or edge transitions
Installation Considerations:
- Requires pre-drilling into pavers or wood decking
- Use waterproof housings to ensure longevity
- Perfect for high-traffic areas where tripping could be a concern
Pro Tip: Mix standing and recessed styles to layer light and create depth. For example, use recessed lights along the inside edge of a path and standing lights on the outer landscape for full coverage and stunning contrast.
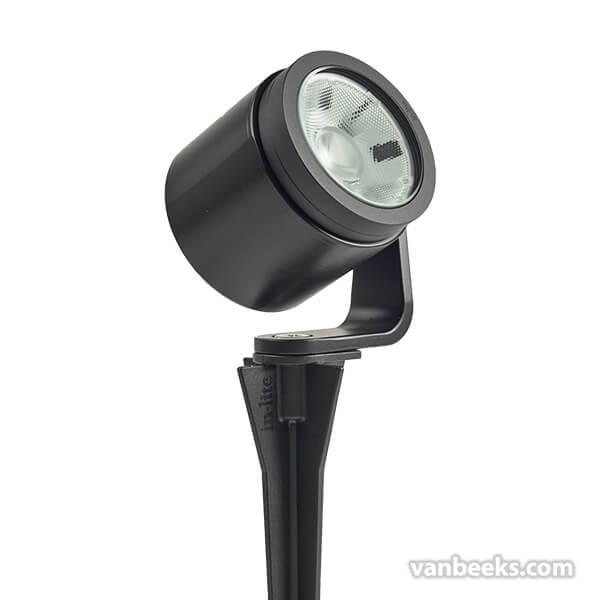
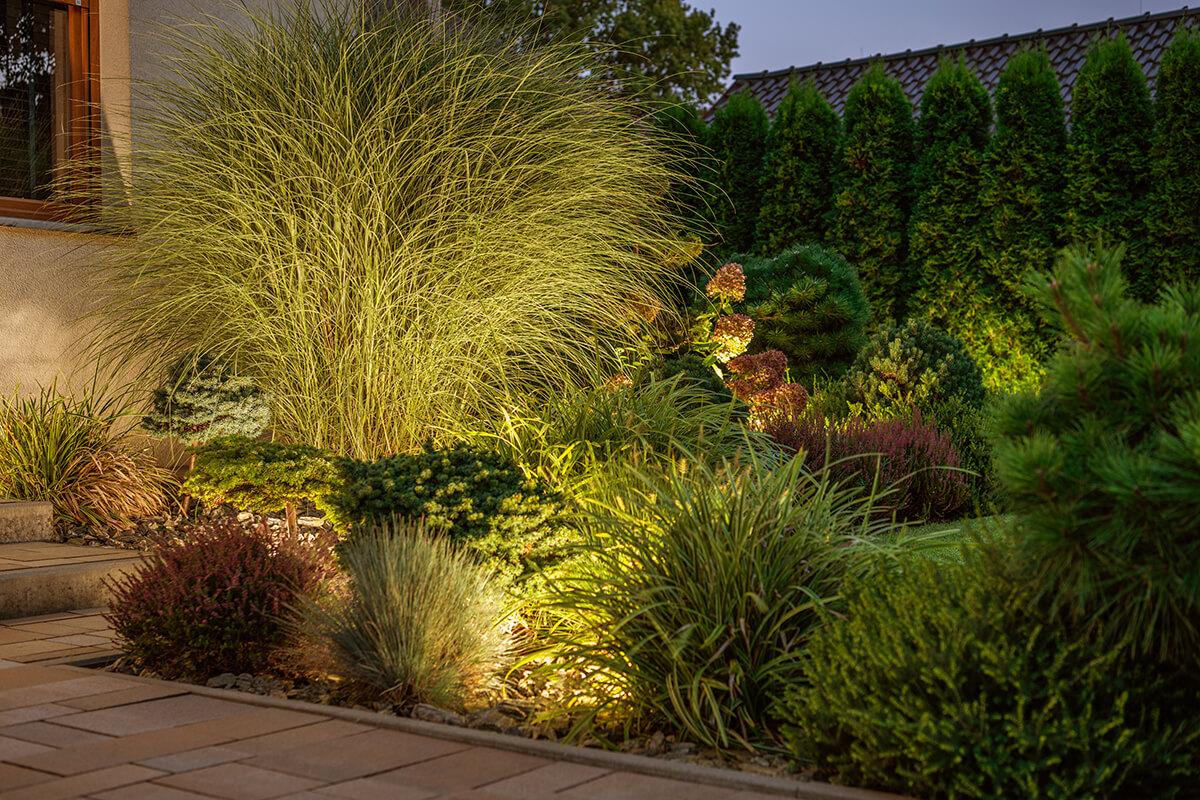
Flood Outdoor Lights & Outdoor Spotlights
These are your go-to fixtures when you want to highlight or secure larger areas. Floodlights provide wide coverage and are perfect for lighting driveways, sheds, or backyards, while spotlights are best for accenting specific features with precision.

Best Applications
- Spotlight a prized tree or garden sculpture
- Light up stone or brick walls to create depth
- Use floodlights around garages or dark corners for added security
Contrast is key: Pair brighter spotlights with surrounding darker areas to create visual drama and draw the eye where you want it.
Outdoor LED Strip Lights & Accent Lights
Want a sleek, modern effect? LED strip lights and low-profile accent lights are the secret.
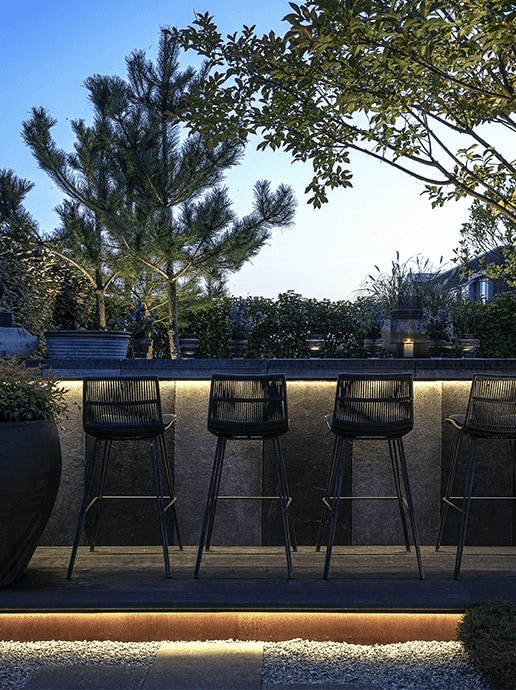
LED strip lights are flexible, adhesive-backed fixtures ideal for:
- Under deck railings or outdoor counters
- Along stair treads or garden borders
- Wrapping around pergolas or fences
Accent lights are compact, directional fixtures that subtly draw attention to smaller features:
- Flower beds, shrubbery, or small trees
- Architectural details like pillars or retaining walls
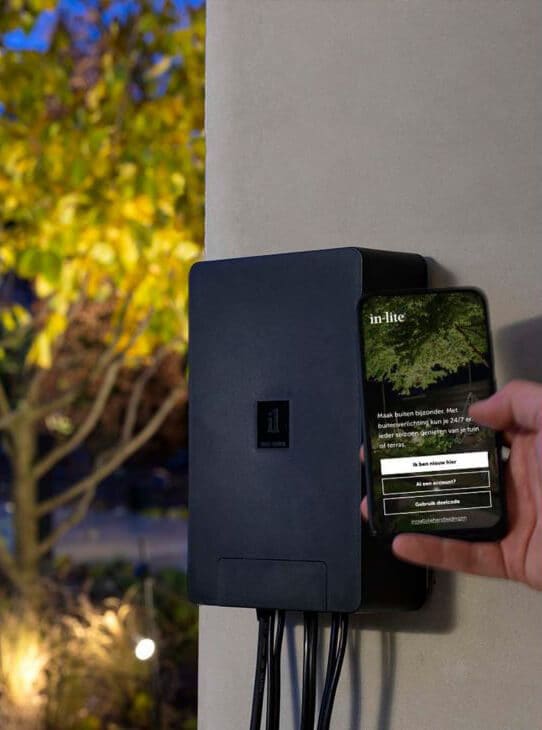
Smart Outdoor Lighting
Looking for convenience and tech integration? Smart outdoor lighting puts control in the palm of your hand.
Benefits:
- Schedule lights to turn on at sunset or off at bedtime
- Adjust brightness and color temperature from your phone
- Integrate with Alexa, Google Home, or smart home systems
- Use motion sensors or timers to reduce energy use
Pair smart-compatible fixtures with a SMART HUB-150 transformer to control multiple zones individually.
Inpiration Tip: Set different lighting “scenes” for entertaining, relaxing, or showcasing features of your yard.
Step 3: Plan and Install Your Cable Layout
Every great lighting plan needs a cable plan. It's easier than it sounds—and can save you serious frustration.
Sketch Your Cable Plan
Just like your lighting sketch, your cable plan starts on paper. Begin with your transformer location — ideally housed in a dry, protected space like a garage or shed near a GFCI-protected outlet. Then, draw cable paths to each fixture.
- Avoid routing cables through garden beds or active digging zones to reduce the risk of damage from shovels or planting tools.
- Use gentle curves, not sharp angles, when mapping cable paths — this reduces stress on the wires and makes installation easier.
- Keep cables at least 6 inches below ground to protect them from weather, animals, and foot traffic.
- When running cable under a walkway, use a rigid metal conduit to protect the wire.
- Pound the conduit beneath the surface using a sledgehammer, then thread the cable through it.
Choose the Right Transformer
Match the total VA (volt-amp) value of your lights to the right transformer. Van Beek’s carries in-lite and Kichler transformers, including:
- HUB-50: max 50VA — ideal for small setups like decks or garden beds
- HUB-100: max 100VA — perfect for medium gardens or front yard lighting
- SMART HUB-150: up to 150VA with smart controls and 3 separate cable outputs
- Kichler transformers:from 150VA to 1200VA — heavy-duty performance for large landscapes or contractor-grade installations
Always choose a transformer with room to grow.
Use Quality Cables and Connectors
Now that your path and power source are sorted, it’s time to install the physical cables and connections — and doing it right the first time will save you hours down the line.
Types of Cables
- Use low-voltage outdoor-rated cable (typically 12/2 or 14/2 gauge) depending on the total wattage and run length.
- Longer distances (over 100 ft) require thicker wire (like 12/2) to avoid voltage drop.
Installation Tips:
- Start at the transformer and lay out the cable along the planned path without cutting. This ensures you have enough length.
- Measure twice, cut once — always leave extra length at fixture points in case of future repositioning or adjustments.
- Use gel-filled waterproof connectors at each splice or fixture junction — these prevent corrosion and moisture damage.
- For fixtures that are far from the main line, use extension cables to bridge the gap.
Branching Cables
Sometimes, a single cable line won’t reach all your light locations — that’s where cable branches come in.
- Use a cable connector like the CC-2 to create a split or branch.
- Keep branches minimal — too many can reduce voltage efficiency.
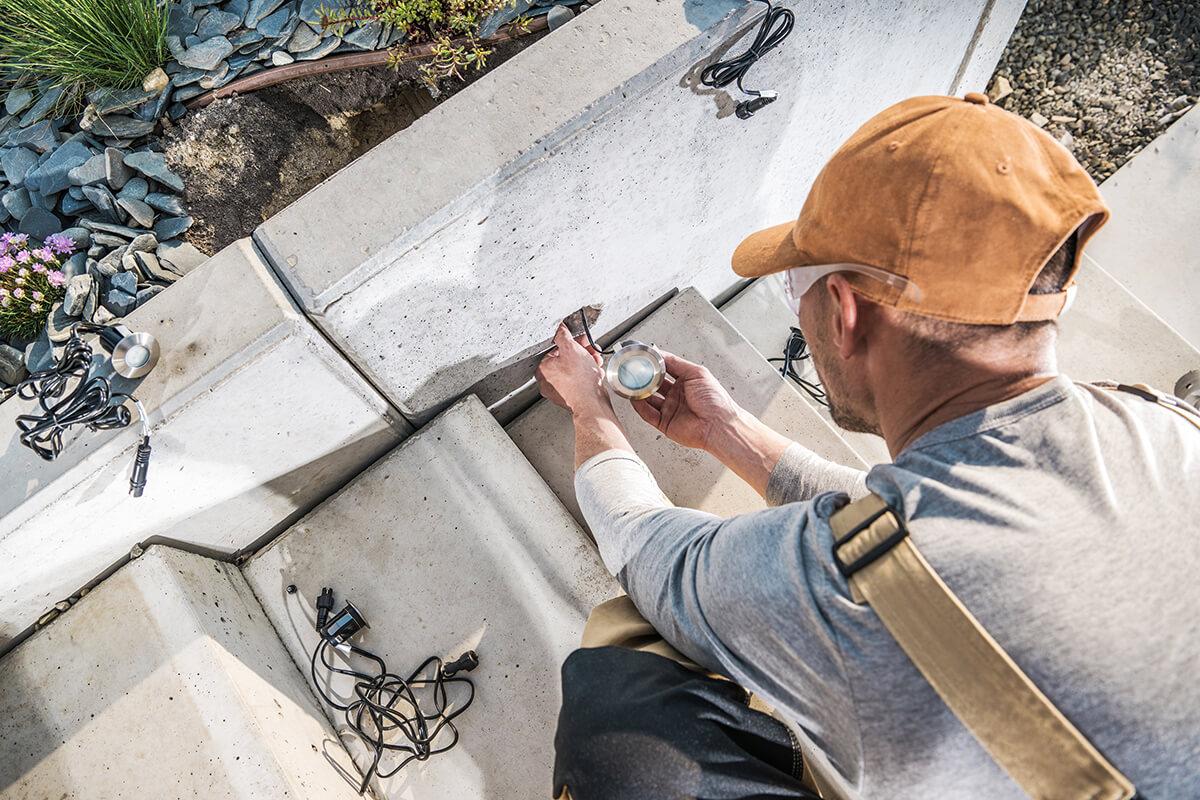
Step 4: Install Your Outdoor Lighting Fixtures
Now that you've planned your lighting layout and cable path, it's time for the fun part—bringing your lighting plan to life. Installing your fixtures is a satisfying process that blends creativity with precision, and the good news is that most outdoor lighting systems are DIY-friendly, especially if you're using low-voltage or smart-enabled components.
Tools You’ll Need
- Wire Stripper - for connecting fixtures to cables
- Shovel or garden trowel – for shallow trenching and cable burial
- Drill with masonry bit – if you’re mounting wall lights on brick, concrete, or other hard surfaces
- Voltage tester (optional) – to check safe and even current flow
- Level –for ensuring perfectly straight wall sconces and deck lights
- Screwdriver set – for mounting and securing hardware
- Work gloves and safety glasses – to protect your hands and eyes during digging and drilling
Installation Tips for a Professional Finish
Install Wiring After Major Planting
To avoid accidentally damaging your cables later, install all wiring after your major landscaping work is done. It’s easy to cut through buried wires while digging holes for plants or trees—save yourself the hassle of redoing work.
Bury Low-Voltage Cables 6 Inches Deep
For safety and durability, bury your low-voltage cable at least 6 inches below ground. This protects the wire from exposure, accidental damage, or curious critters. In areas with loose soil or high foot traffic, go slightly deeper or use protective conduit for added security.
Mounting Wall and Stair Lights
- Use a level to line them up evenly.
- Pre-drill holes to prevent cracking if mounting on wood or composite surfaces.
- Seal any drilled points in exterior walls to prevent moisture from entering.
Use Recessed Lights for a Sleek Look
Recessed fixtures are ideal for:
- Deck boards (flush-mount to avoid tripping)
- Stair risers
- Walkways and patios
These are installed into pre-drilled holes, usually with a waterproof gasket or sleeve. Be sure the housing is snug, and don’t overtighten, as it can crack the fixture housing or surface material.
Connect Lights to the Cable Line
Most fixtures will come with connector leads that attach to your main low-voltage cable.
- Use gel-filled waterproof connectors or screw-tight terminals designed for underground use.
- Strip about ½ inch of cable insulation before joining wires.
- Secure each connection tightly and tuck wires safely beneath the soil or hardscape.
Test as You Go
Before burying cables or finalizing fixture positions:
- Plug in your transformer and test each light.
- Check for consistent brightness across the line. If a light is dim or flickering, there may be a voltage drop or loose connection.
- Adjust fixture angles to eliminate glare, avoid light spill into neighbors’ yards, and create desired visual effects.
- Don’t hesitate to reposition fixtures — part of the DIY fun is experimenting with placement to get the perfect lighting mood.
Lighting Dos and Don’ts for DIYers
✅ Combine light types: wall lights, spotlights, string lights, and path lights for depth and variety
✅ Install with expansion in mind—choose transformers with extra capacity
✅ Use indirect lighting to avoid glare and harsh shadows
✅ Label zones and wires: If you’re using a multi-zone transformer like the SMART HUB-150, keep things organized by labeling zones and cable runs.
✅ Add dimmers or sensors: Many transformers support motion sensors, timers, or smart dimmers—install them early for automated convenience later.
❌ DON’T overlap too many “pools of light”
❌ DON’T place fixtures too close together
❌ DON’T cheap out on connectors—they matter!
Frequently Asked Questions (FAQs)
What is the best way to control outdoor lighting?
Use a timer or smart system. Smart transformers can be controlled via app or voice, offering the ultimate convenience.Do I need a permit for installing outdoor lighting?
Most low-voltage or solar installations don’t require a permit, but it’s best to check with your local municipality.Can I mix LED and halogen lights?
Yes, but ensure your transformer can handle the load. LEDs are far more efficient and longer lasting.How do I avoid the “runway effect”?
Stagger path lights and use varied spacing to create a more natural, inviting look.What’s the difference between a spotlight and a floodlight?
Spotlights offer narrow, intense beams for highlighting; floodlights provide wide coverage for general illumination.Ready to bring your yard to light?
Browse Van Beek’s full selection of outdoor lighting products and get expert advice from our team. Whether you’re after path lights, transformers, or cable connectors, we’ve got everything you need to turn your backyard vision into reality.