If you’re a DIY homeowner ready to level up your landscape, building a retaining wall is one of the most rewarding—and structurally important—projects you can take on. Whether you’re dealing with a sloped yard, preventing erosion, or just want to add visual interest and usable space, this guide will walk you through how to build a garden retaining wall from the ground up.
What Is a Garden Retaining Wall and Why Build One?
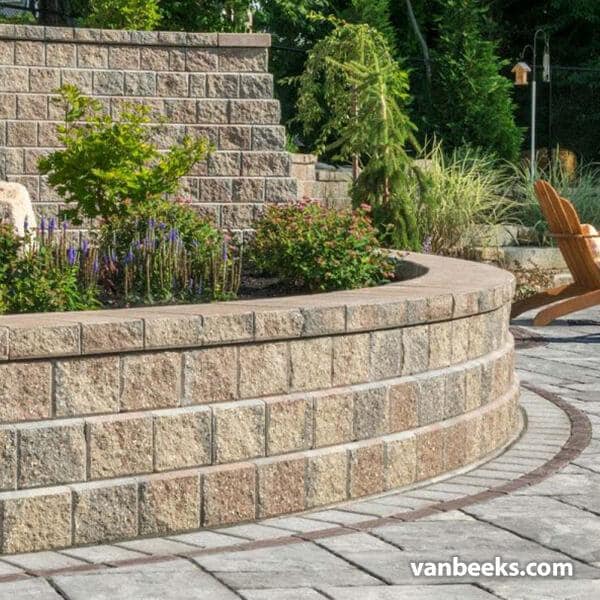
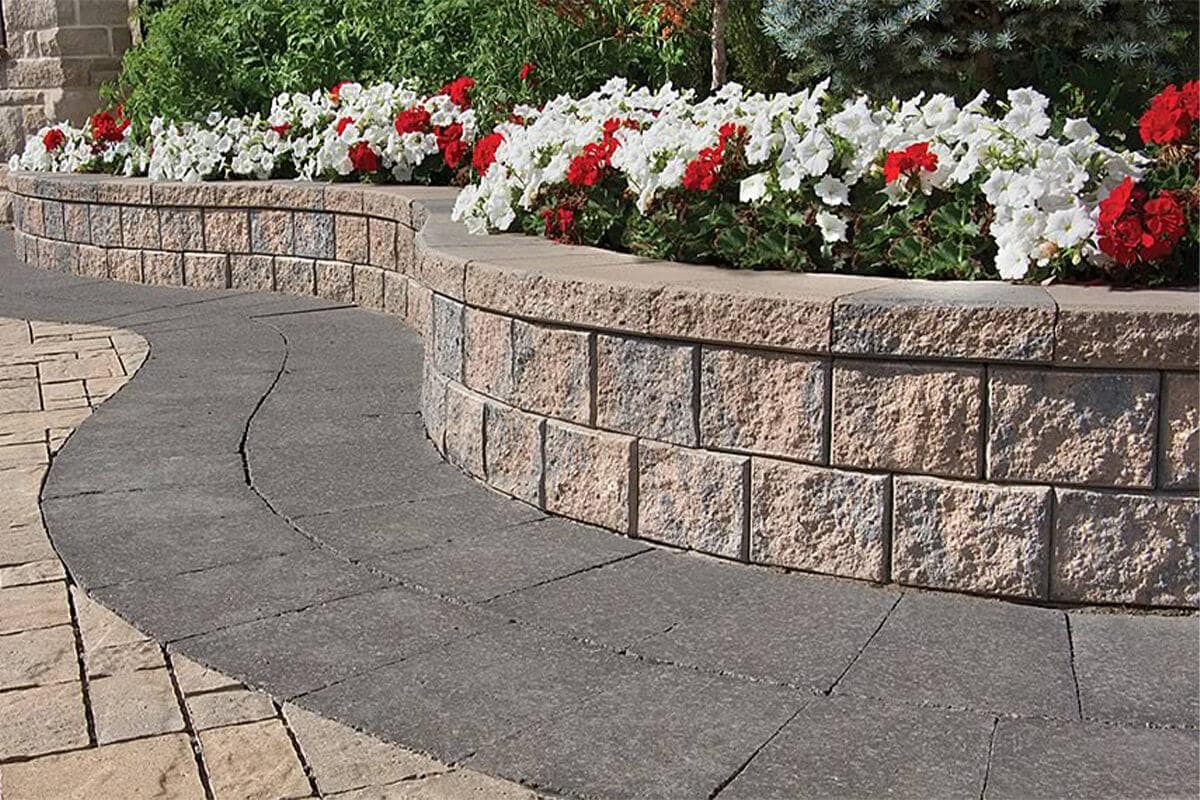
Garden retaining walls are structures built to hold back soil in a landscape, creating level planting areas in gardens that would otherwise slope or erode. These walls not only serve a functional purpose—preventing soil runoff and managing water drainage—but they also enhance the look of your outdoor space. Whether used to build raised flower beds, define garden tiers, or add structure around trees and shrubs, garden retaining walls blend practicality with beautiful, natural design.
Benefits of Retaining Walls in Landscaping
- Prevent erosion and soil movement
- Create raised garden beds
- Add curb appeal and property value
- Support landscape structure around driveways or walkways
- Can provide seating to your garden
Shop for Your Retaining Wall Project Online!
Van Beek's has an extensive selection of landscaping materials available to buy online.
Shop NowRetaining Wall Design Considerations
Height and Load Requirements
Before digging, measure your wall height. For walls over 4 feet high, consult a structural engineer. Even shorter walls carry a lot of weight—wet soil can exert up to 20 tons of pressure!
Pro Tip: If you’re building a seat wall, plan for a finished height between 16–18 inches—the standard height for comfortable seating.
Drainage and Soil Conditions
A retaining wall is only as strong as the drainage system behind it. Poor drainage is one of the leading causes of retaining wall failure, as excess water adds significant pressure that can cause bulging, cracking, or even collapse.
Understanding your soil type is crucial before you start building:
- Clay soil retains water and becomes extremely heavy when saturated. This puts added pressure on the wall, especially during heavy rainfall or spring thaws.
- Sandy soil drains quickly, but it can shift easily, making it less stable as backfill if not properly compacted and supported.
- Loam or mixed soils offer better balance but should still be managed with drainage in mind.
To ensure your wall stays intact and performs well over time, include these drainage essentials:
- Gravel Backfill: Install a layer of ¾" clear gravel (ASTM #57) behind the wall, at least 12 to 14 inches deep. This allows water to pass freely down to the base, reducing hydrostatic pressure.
- Perforated Drain Pipe: Lay a 4" perforated pipe (also called “weeping tile”) at the bottom of the wall, inside the gravel layer. This pipe should run the entire length of the wall and exit to daylight or a lower grade so water can flow out.
- Filter Fabric: Wrap filter fabric between the native soil and the gravel backfill to prevent soil from clogging the drainage system over time.
- Drainage Wrap: Once backfilled, fold the filter fabric over the top of the gravel layer before topping with soil. This keeps fines from seeping down into the gravel and causing blockages.
Choosing the Right Retaining Wall Materials
Van Beek’s offers everything from classic natural stone to modern concrete retaining wall blocks. Not sure what to use? Visit us in-store or speak to our expert staff.
There are several styles and materials suitable for different DIY goals:
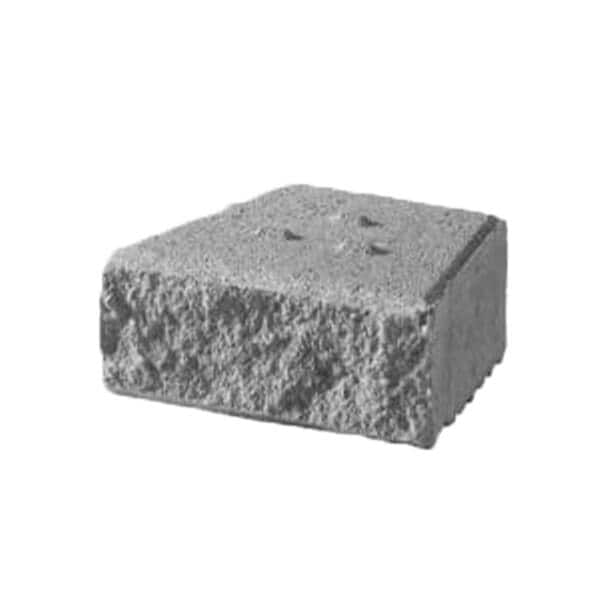
- Stone retaining wall: Classic, natural-looking, and durable.
- Concrete retaining wall blocks: Easy to stack and ideal for DIY use.
- Wood retaining wall: Affordable and rustic, especially with hemlock ties for wood retaining walls.
- Armour stone retaining wall: Large, rugged blocks available to hand-select in-store at Van Beek’s.
Tools and Materials You’ll Need
Equipment Checklist
Materials Checklist
How to Construct a Retaining Wall: Step-by-Step Process
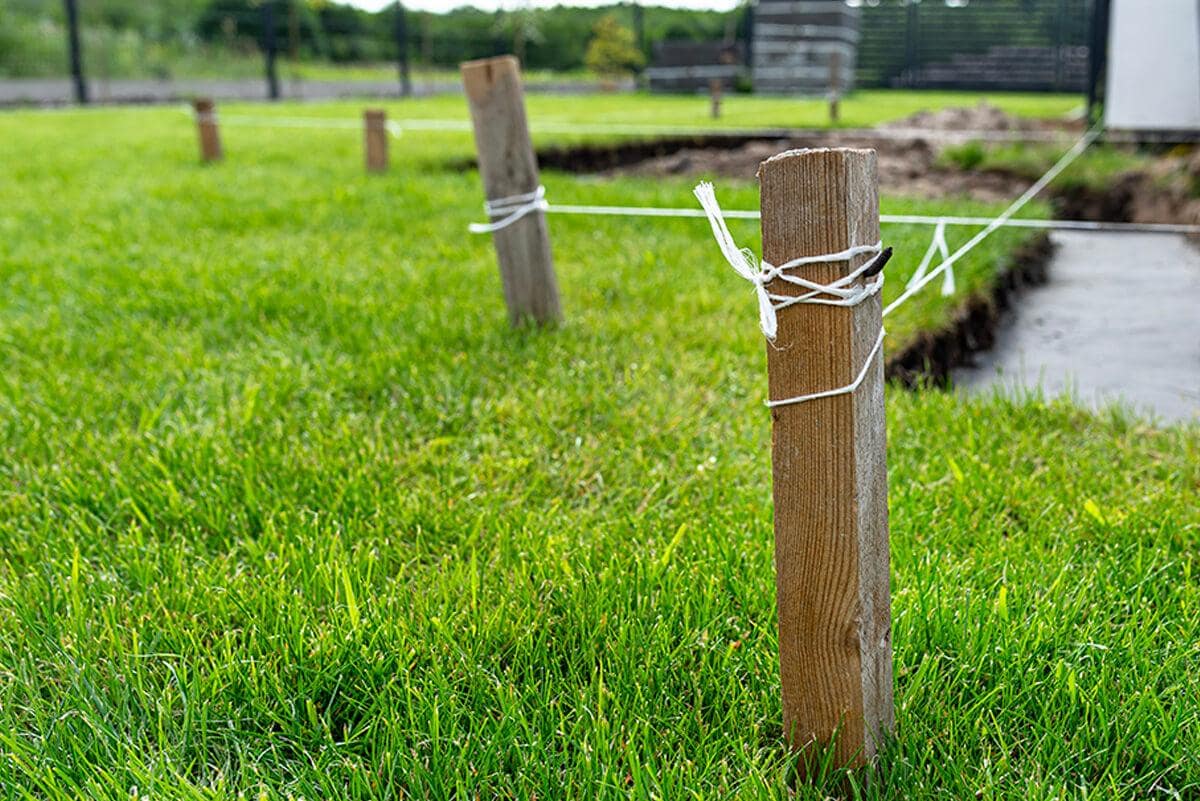
Step 1: Planning, Permits & Prepping the Site
Before you grab a shovel, it’s important to take care of a few critical steps:
- Call or your local utility locating service to mark underground cables, gas lines, and irrigation pipes.
- Check with your municipality about building code requirements or permits—even small walls can impact water drainage.
- Measure and mark your layout using stakes and string line or marking paint. Plan for curves, ends, or integrated garden beds.
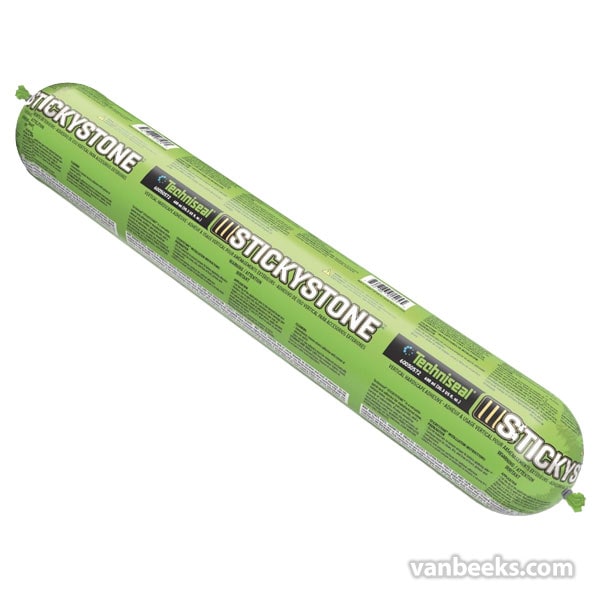
- Order all your materials in advance, including concrete retaining wall blocks, gravel, filter fabric, and Techniseal adhesive.
- Account for drainage and soil retention, especially if planting directly behind the wall or near patio areas
Step 2: Excavating and Preparing the Base
The base is the foundation of your wall—get this right and the rest is much easier.
- Dig a trench that’s twice the width of your wall blocks and at least 6 inches deep (more for uneven or soft ground). For walls under 2 feet, a 6–8 inch deep trench is usually sufficient.
- Ensure that the bottom of the trench is level from end to end. Use a 4-foot level and a flat shovel.
- Continue digging until you reach a firm, stable subsoil. Remove all organic material like roots or topsoil.
- Use a hand tamper or plate compactor to compact the trench base thoroughly.
Step 3: Installing Filter Fabric and Drainage
Proper drainage is non-negotiable when building any type of retaining wall—garden walls included. Without it, water pressure builds up behind the wall, leading to cracks, bulging, or even complete failure over time. That’s why this step is so important, no matter how small the wall may seem.
Do You Need a Perforated Drain Pipe?
The short answer: Yes, in most cases—but it depends on wall height, location, and drainage conditions. Here’s a breakdown:
For Low Garden Walls (Under 24"):
- Not always required to install a pipe if:
- You’re building in sandy or well-draining soil
- The wall is less than 2 feet tall
- The backfill is entirely clear gravel and free-draining
- Still recommended if:
- Your garden wall is backed by a slope
- There's irrigation, such as drip lines or sprinklers
- You're planting behind the wall, which will increase moisture
For Walls 2 to 3 Feet +:
A 4-inch perforated drain pipe is highly recommended. Even though the wall height is still manageable, water accumulation starts to create more pressure at this level.
- The pipe should:
- Be wrapped in a drain sleeve or sock to prevent clogging
- Slope slightly (at least 1% grade) toward a drainage outlet
- “Daylight” or exit at the ends of the wall, or connect to a larger drainage system
How Much Gravel Backfill Do You Need?
The amount of gravel backfill also varies with the size and function of the wall:
| Wall Height | Minimum Gravel Depth | Gravel Behind Wall |
|---|---|---|
| Under 24" (Garden Wall) | 4–6 inches base, 12" behind wall | Compact lightly to stabilize |
| 24" to 36" (Seat Wall) | 6–8 inches base, 14" behind wall | Compact every 6" layer |
| Over 36" | 8–12 inches base, 18"+ behind wall | Engineer design required; compact fully |

Step 4: Building the Base Layer
This step ensures your first row of blocks is perfectly level and stable.
- Screed a 1" layer of HPB (High-Performance Bedding) stone or chip stone over the compacted gravel.
- Optionally, place U-Grip™ pads or pour a concrete base if you want extra precision.
- Use a level to ensure a flat and even surface.
🎯 Accuracy here matters: Every block you lay on top depends on this foundation being level
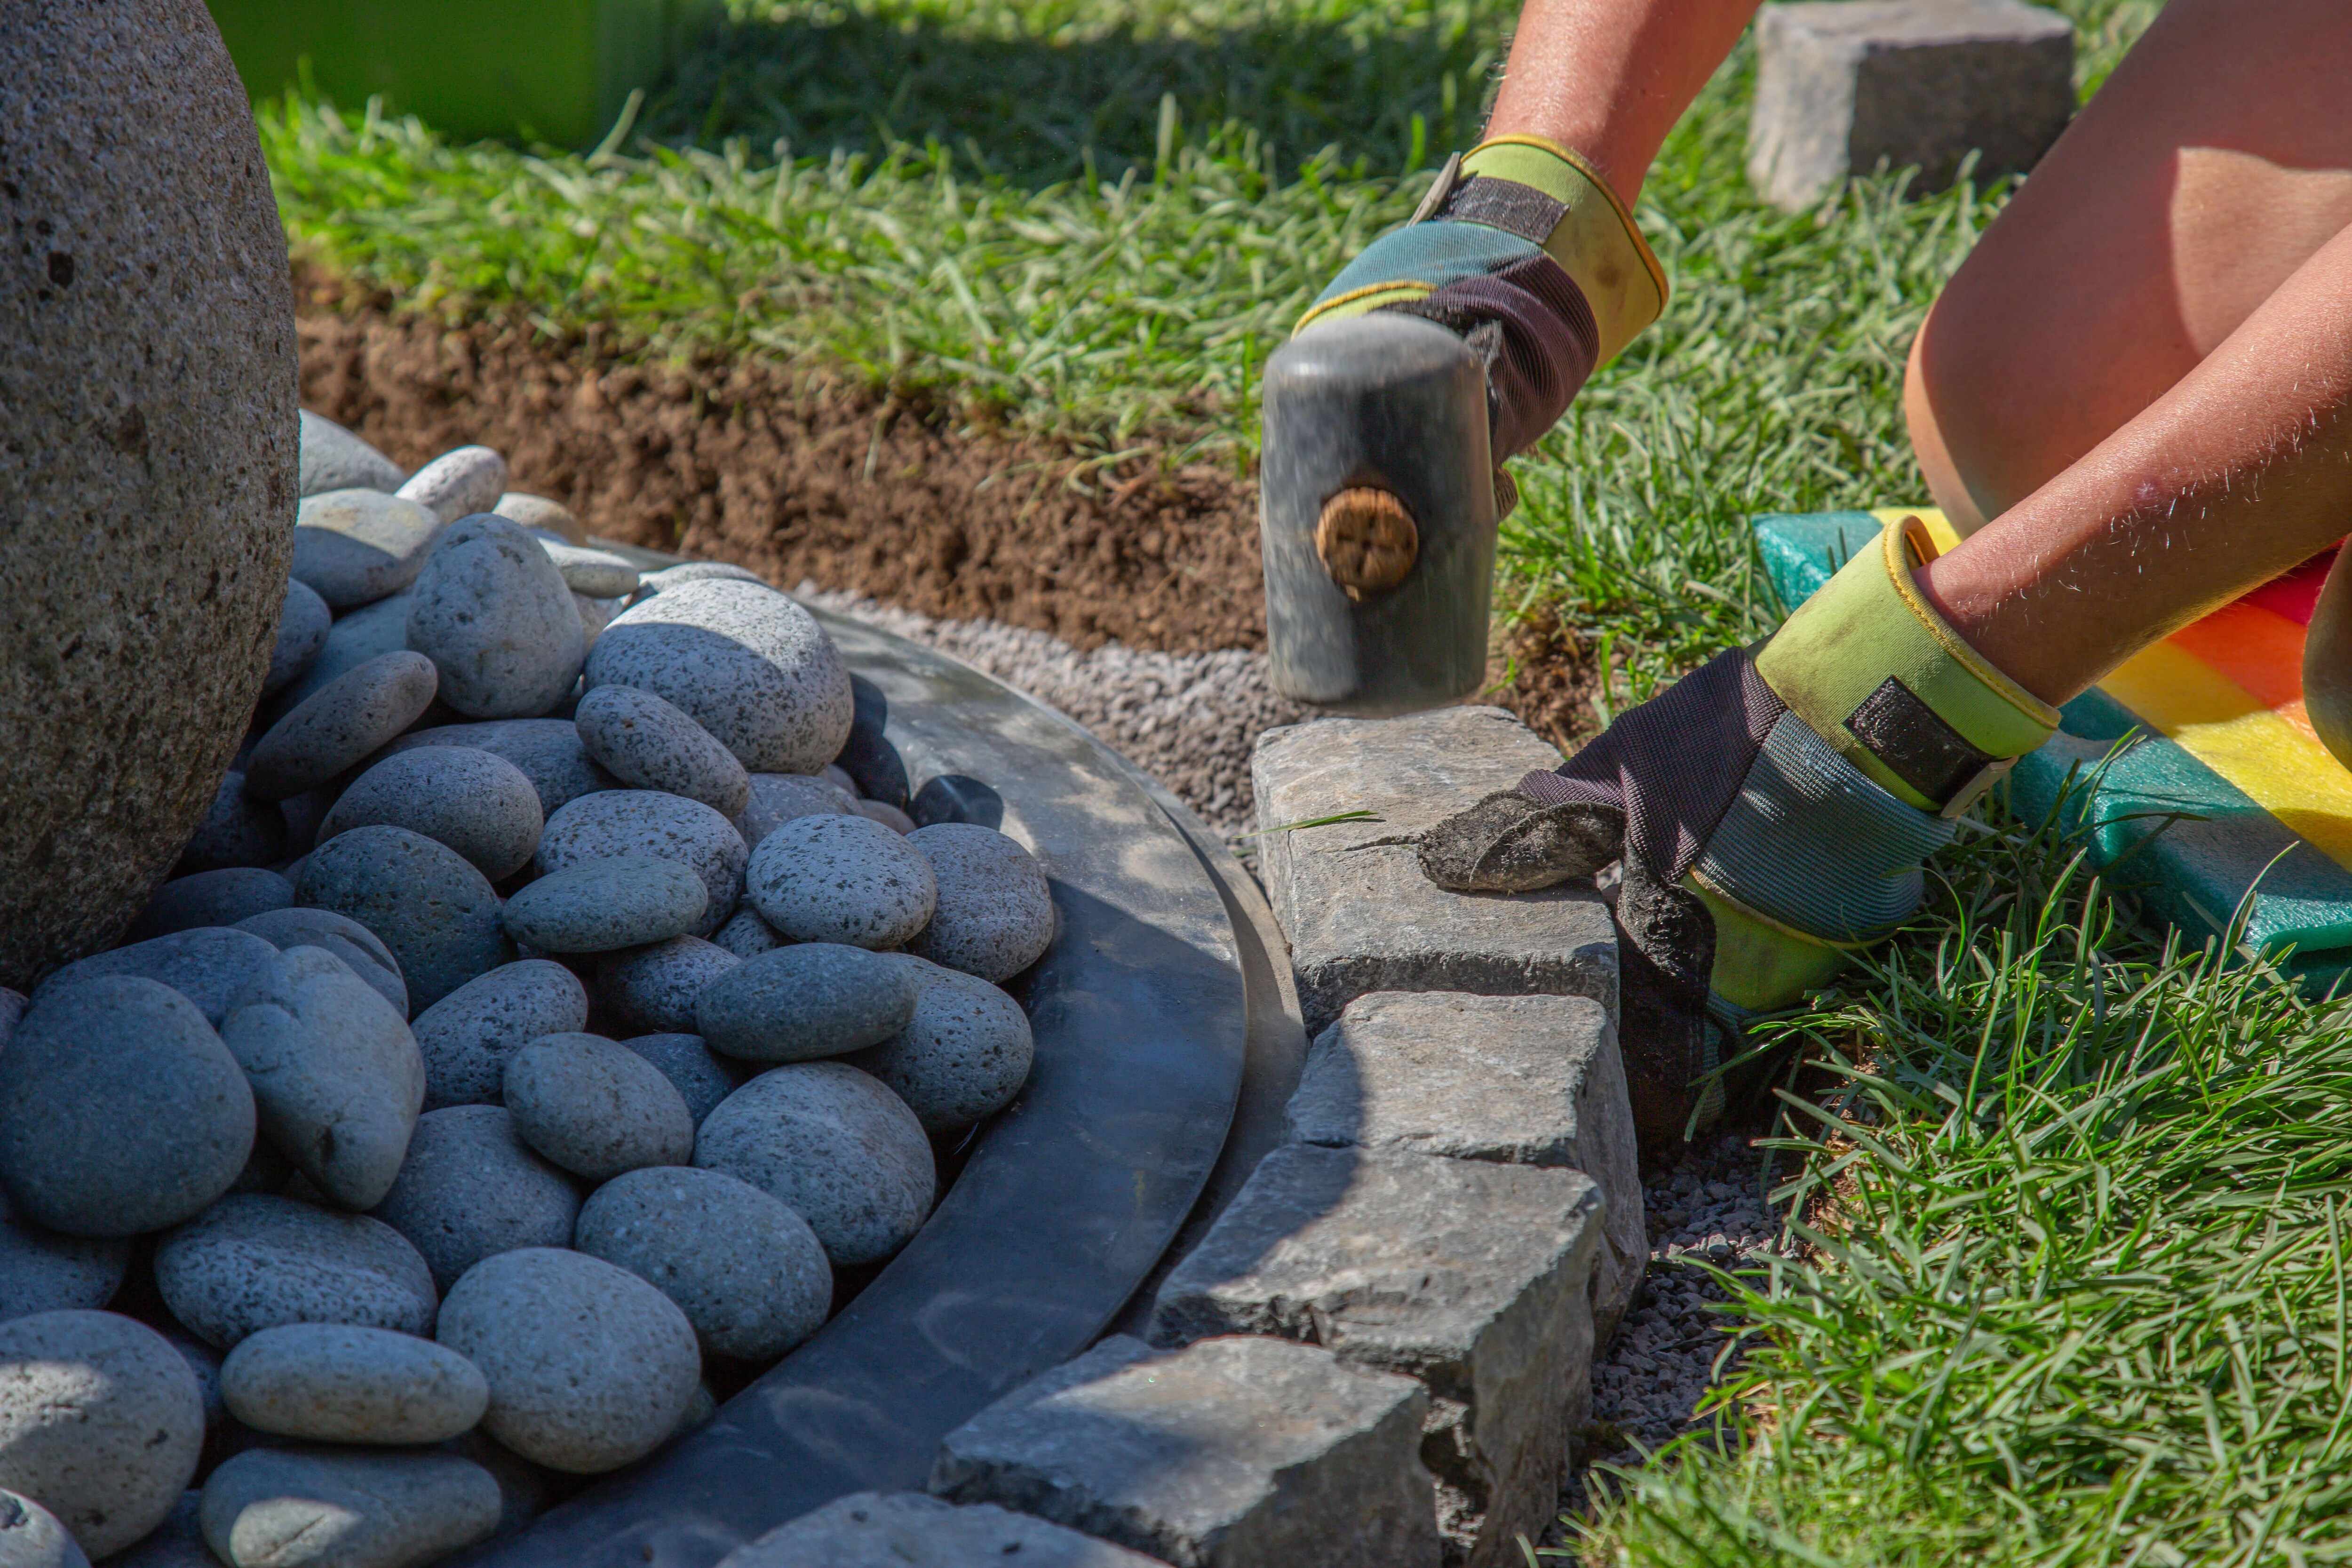
Step 5: Laying the First Course of Blocks
- Start laying blocks at the lowest elevation point in your wall’s path.
- Tap each block gently into place with a rubber mallet, checking for level side to side and front to back.
- Align the face of the blocks using a string line to keep everything straight.
Tip: If using interlocking blocks, ensure the locking flange is seated correctly for maximum stability.
Step 6: Stacking Rows with Proper Setback
For seat walls and garden beds, the wall may only require 2–4 rows:
- Stagger the joints so vertical seams don’t line up (like brickwork).
- Use an adhesive like Techniseal Stickystone Adhesive between rows if the blocks don’t lock mechanically.
- As you build each course, backfill with gravel behind the wall to provide support and drainage.
- Compact the backfill every 6–8 inches.
Repeat this process for each row until your wall reaches its final height.
Step 7: Backfilling and Compacting
This step keeps your wall from shifting or settling over time:
- Backfill behind the entire wall with ¾" gravel, extending at least 12–14 inches deep.
- Use a hand tamper to compact each layer of backfill as you go.
- For garden beds, consider mixing in organic soil in the upper layer, but never eliminate the gravel layer entirely.
Tip: For raised planters, use well-draining garden soil above the gravel to promote healthy roots.

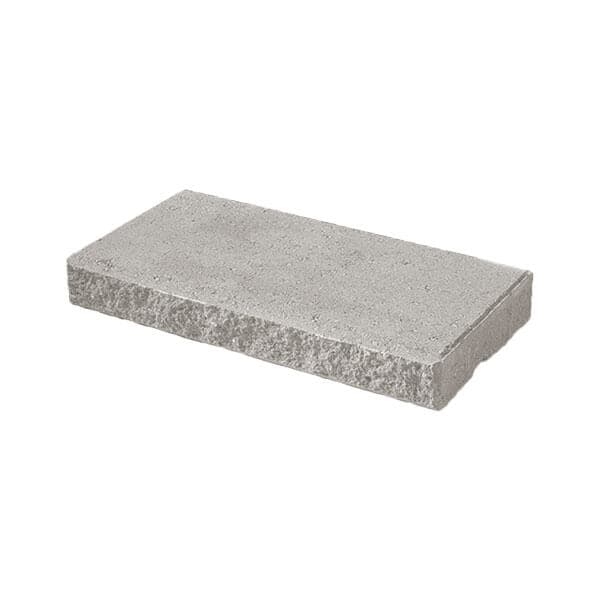
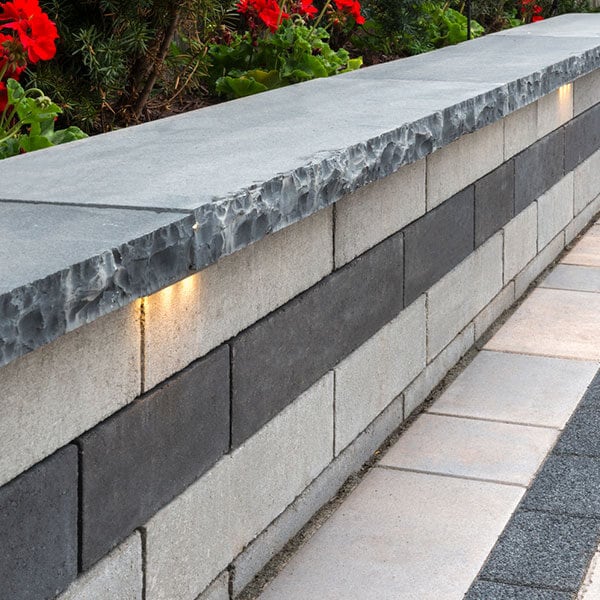
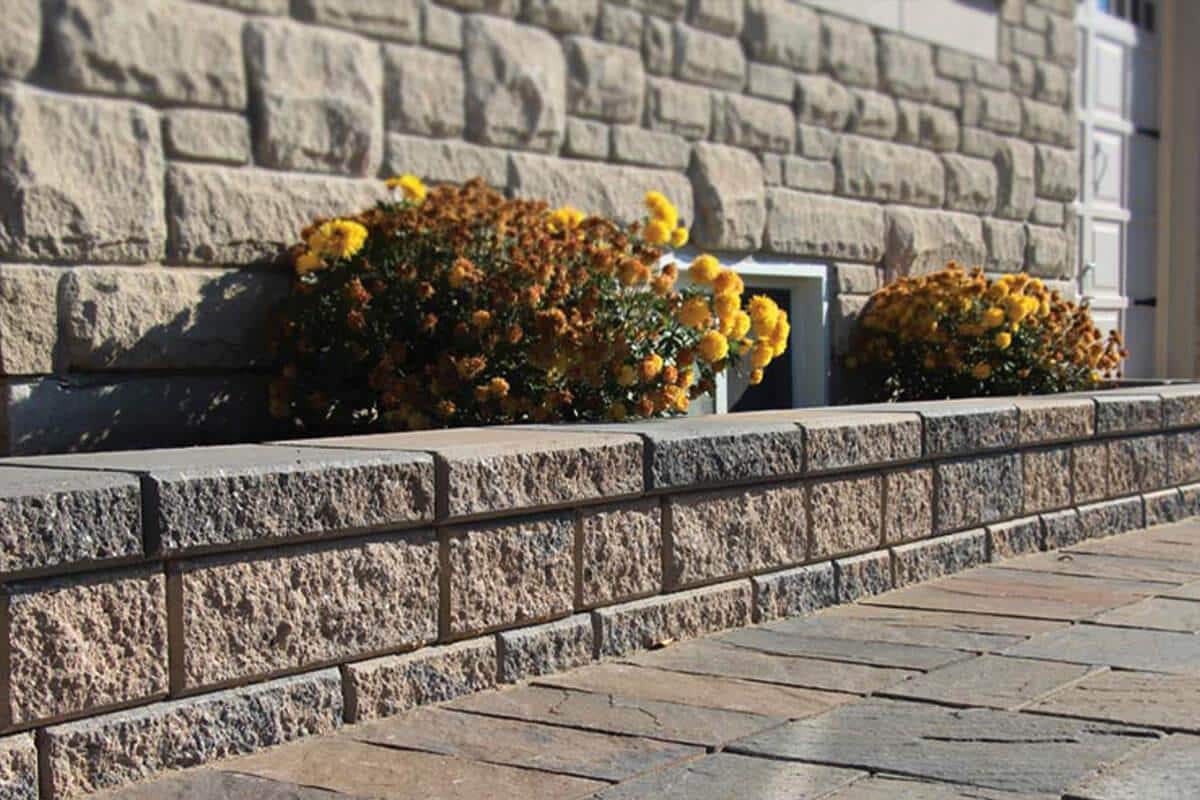
Step 8: Adding Coping Blocks for a Finished Look
Coping adds both structure and polish, especially for seat walls:
- Clean the top row thoroughly with a brush.
- Apply two ¼” beads of Stickystone Adhesive across the top row of blocks.
- Install your matching coping for Pisa 2 or choose from concrete coping options.
- Ensure the coping overhangs by 1½" for a neat finish.
Step 9: Final Drainage Wrap and Finishing Touches
- Fold the remaining filter fabric over the top of the gravel backfill to prevent soil fines from clogging your drainage.
- Top with garden soil, mulch, or sod, depending on your project.
- Ensure a 2–5% slope away from the wall on both the front and back sides to direct water away.
Retaining Wall Dos, Don’ts, and Key Considerations
✅ DO: Start with a Solid Base
A compacted gravel base ensures stability and longevity.
❌ DON’T: Ignore Drainage
Water buildup behind the wall is the #1 reason for wall failure.
✅ DO: Use Materials Designed for Retaining Walls
Interlocking blocks like Pisa 2 or Lineo are made for this job.
❌ DON’T: Skip Permits or Utility Checks
Always call and check local bylaws before you dig.
✅ DO: Consider Tiered Walls for Tall Slopes
Building shorter, staggered tiers reduces soil pressure and risk of failure.
Final Tips for DIYers
When to Call a Pro
If your wall is over 4 feet tall, near a structure, or retaining a heavy load (like a driveway), hire a pro or consult an engineer.
Mistakes to Avoid When Making a Retaining Wall
- Not compacting the base properly
- Forgetting about water drainage
- Using random block types without checking compatibility
- Skipping filter fabric or backfill steps
Frequently Asked Questions
How do I build a wood retaining wall?
Use pressure-treated hemlock ties for wood retaining walls, stack and stagger them, and secure with rebar or deadmen anchors.What’s the best material for a DIY retaining wall?
Concrete retaining wall blocks are easiest for DIYers—especially interlocking styles like Pisa 2 and Permacon Wedgestone.How much do concrete retaining wall blocks cost?
Costs vary based on size, finish, and quantity. Expect to budget $10–$20 per square foot. Visit Van Beek’s for accurate quotes.Can I make a retaining wall myself?
Yes—for walls under 4 feet and on stable terrain, it’s a great DIY project. Anything taller is recommended to be reviewed by a professional.What’s the difference between interlocking and traditional blocks?
Interlocking blocks click into place and are faster to install, while traditional blocks may require mortar or adhesive.Ready to Build Your Retaining Wall?
Whether you're going with a sleek Lineo concrete wall, a rustic armour stone retaining wall, or a functional wood wall with hemlock ties, Van Beek’s has everything you need—from bulk gravel and base materials to concrete coping and adhesives for secure installation.
Stop by, speak with our expert team, and hand-pick your materials. We’re your one-stop shop for hardscaping projects of any size.