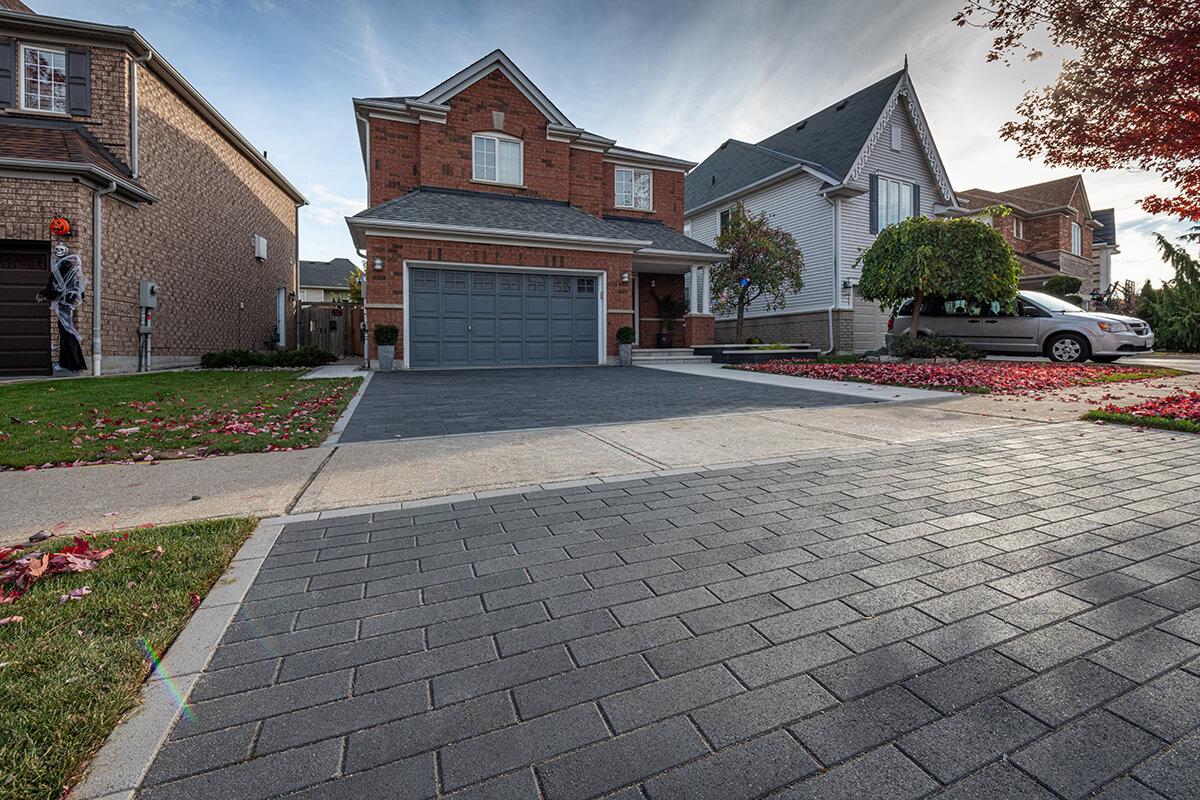
Installing an interlock driveway is a rewarding project that adds both curb appeal and durability to your home. Whether you're replacing aging asphalt or creating a brand-new entrance, interlocking pavers offer a long-lasting, low-maintenance solution with design flexibility and a premium look.
In this step-by-step guide, you'll learn exactly how to install interlocking pavers for your driveway — from excavation and base preparation to laying the final paver and applying joint sand. Let’s get started.
Shop Driveway Pavers Online!
Van Beek's has an extensive selection of driveway pavers. Find the perfect style and colour for your project. Shop online today.
Shop NowWhy Choose Interlocking Pavers for Driveway Installation?
Interlocking driveway pavers are the gold standard for DIYers who want performance and design flexibility. Here's why they're a smart choice:
- Durability: Designed to handle vehicular weight and resist cracking better than poured concrete or asphalt.
- Aesthetic appeal: With many modern driveway pavers available, you can tailor the look to match your home.
- Repairability: If a paver cracks or shifts, simply lift and replace it — no patching required.
- Eco-friendly: Permeable interlocking pavers help reduce water runoff and support proper drainage.
Plus, pavers offer more longevity compared asphalt driveways, making them ideal for homeowners looking for lasting value.
Tools and Materials You’ll Need
Essentail Tools
- Tape Measure – for accurate layout and spacing
- Level – ensures your pavers are properly aligned
- Square – helps you keep perfect right angles
- Shovel – for excavating and grading
- Rake – for grading and spreading materials
- Fluorescent String Line – to mark your excavation area
- Screed – for leveling the bedding material
- Chalkline – for alignment during paver installation
- Wheelbarrow – for hauling gravel, HPB, and sand
- Hand Tamper – for tight areas or detail work
💡 Van Beek’s also rents heavy-duty equipment like plate compactors and masonry saws — perfect for cutting and compacting pavers efficiently.
Materials
- Landscaping Fabric – to separate native soil from base material
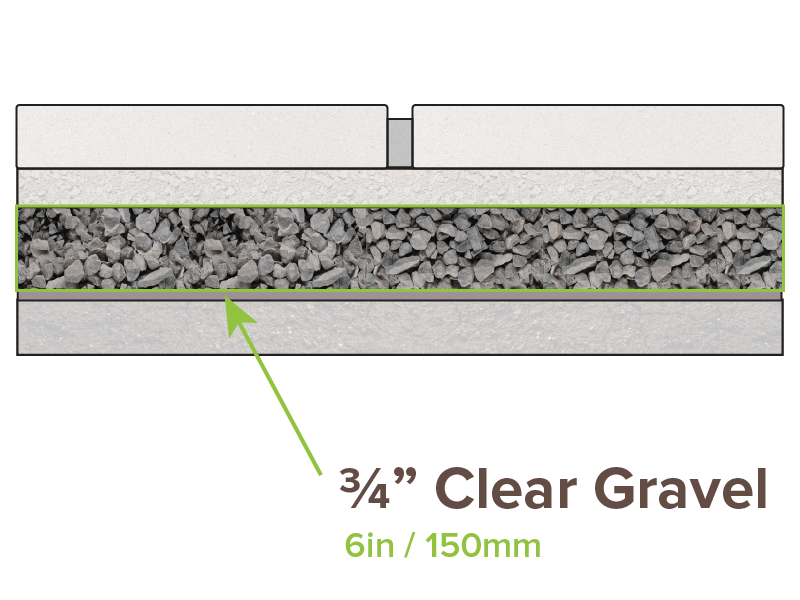
- 3/4" Clear Gravel or limestone crush – for the base layer
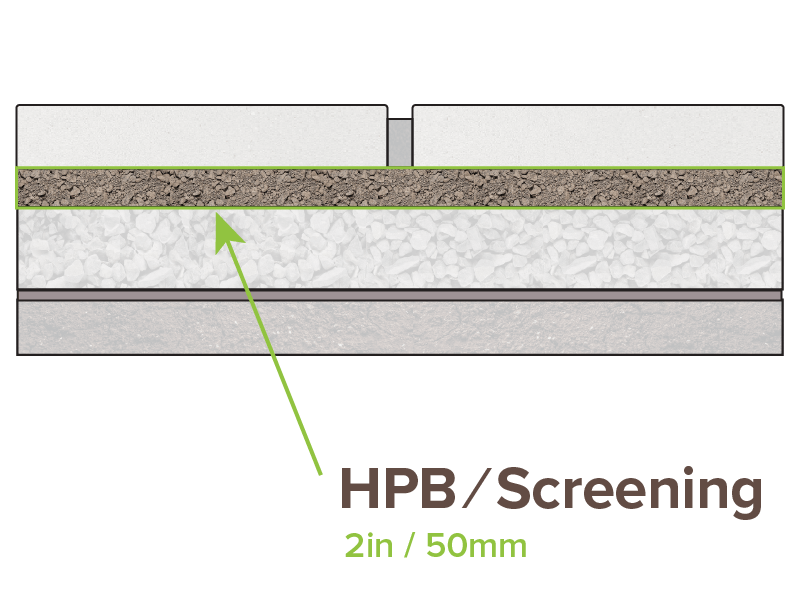
- High Performance Bedding (HPB) – for leveling under the pavers
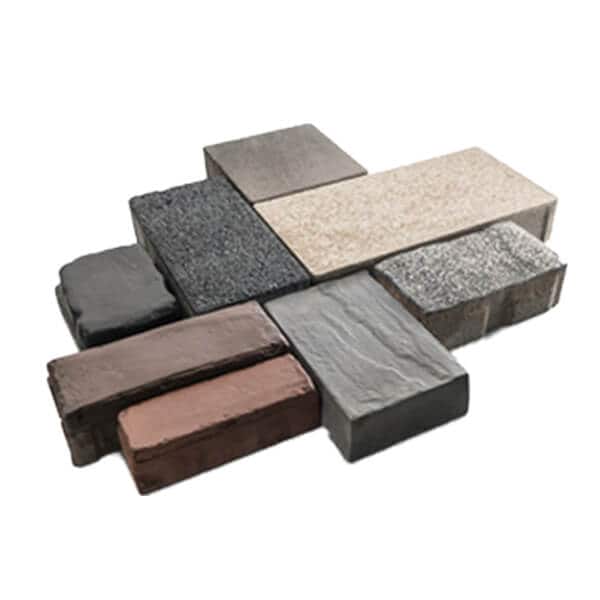
- Interlock Pavers – choose styles and sizes suitable for vehicular use
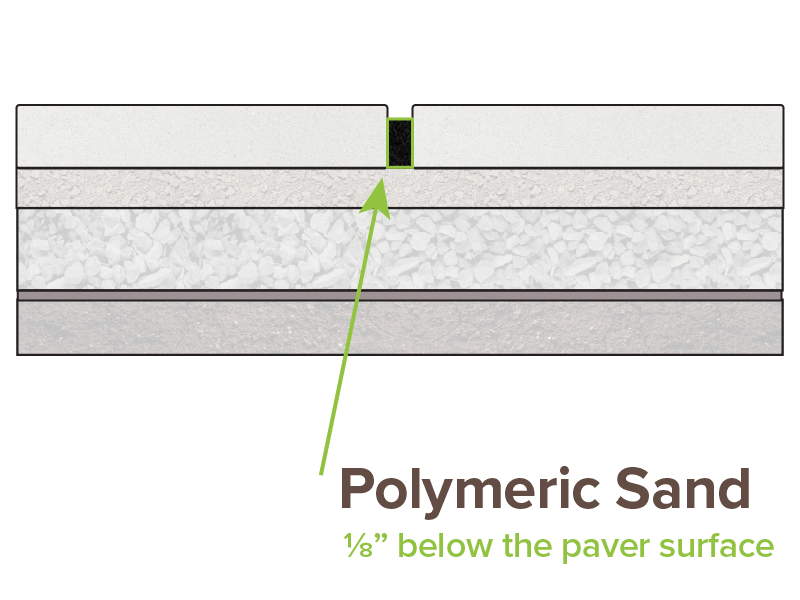
- Polymeric Sand – for joint stabilization
- Sealant – optional, for added protection and color enhancement
Planning Your Interlock Driveway Design
Measure and Mark
Use a tape measure, stakes, and string line to outline the size and shape of your driveway. Always plan for a 6–8" extension beyond the finished paver edge for stability and edge restraint installation.
Design Tips
- Go as wide as your property allows — aim for 16–20 ft wide if possible.
- Choose modern driveway pavers that complement your home's exterior.
- Use contrasting driveway border pavers to frame the layout and add visual structure.
- Blend aesthetic with function: straight driveways are easier to install, but curves can add elegance.
Before You Begin:
- Contact local utilities for a locate check.
- Check municipal bylaws for permits.
- Pre-order materials and schedule delivery with Van Beek’s to avoid project delays.

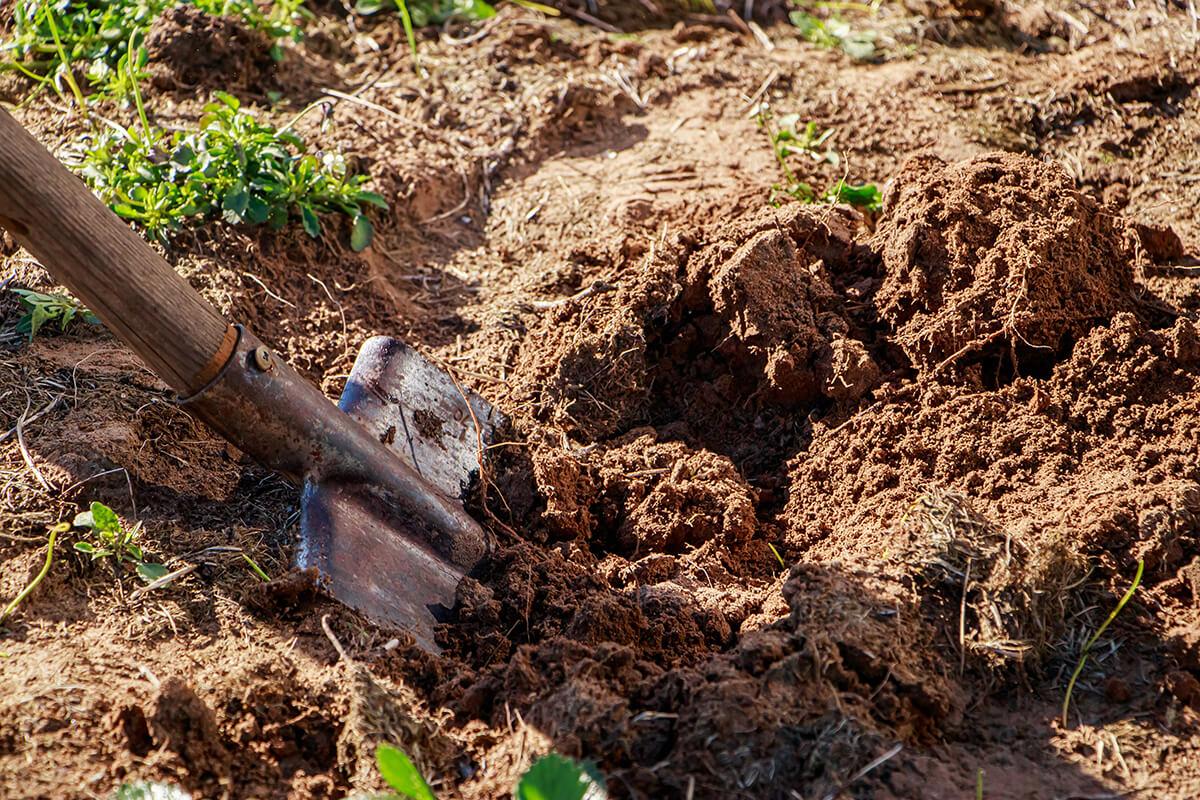
How to Excavate and Prepare the Base
Excavation is critical for long-term stability.
- Determine soil type and drainage. Clay-based soils need deeper excavation than sandy soils.
- Excavate to required depth. Generally, plan for 12–16 inches total (including base, bedding, and pavers).
- Extend the excavation 6–8 inches beyond the finished driveway edge to allow for edge restraints.
Installing the Base Material (Van Beek’s Recommended Method)
A properly installed base is essential to the long-term durability and stability of your interlock driveway. Most issues like sinking, shifting, or rutting stem from poor base prep — so take your time here and do it right.
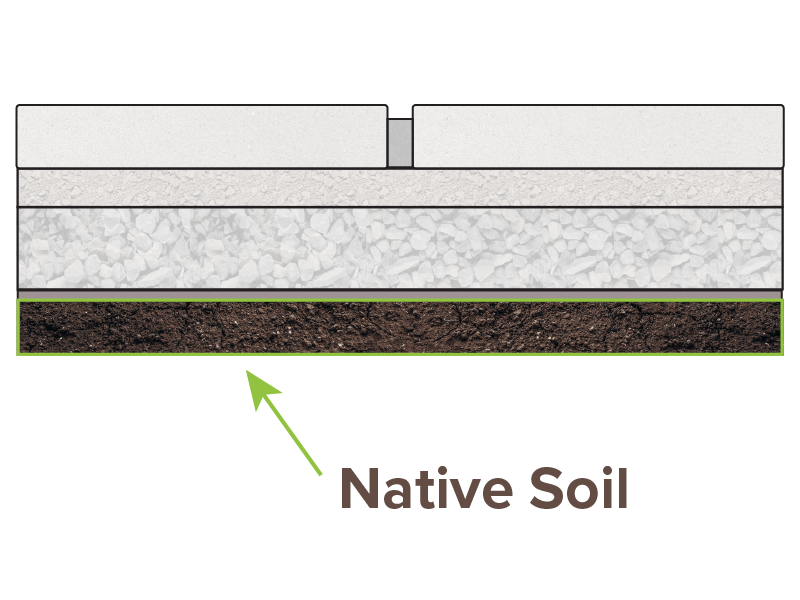
Van Beek’s recommends the following layered system:
Step 1: Compact the Native Soil
- After excavation, use a plate compactor (available for rent at Van Beek’s), or a hand tamper to firmly compact the native or graded soil.
- The goal is to reduce air pockets and provide a stable foundation for the base layers.
- Walk the compactor in overlapping passes across the entire surface, and repeat for 2–3 passes.
Pro Tip: If the subsoil is clay-heavy or holds water, consider adding a layer of landscaping fabric over the compacted soil to improve separation and drainage.
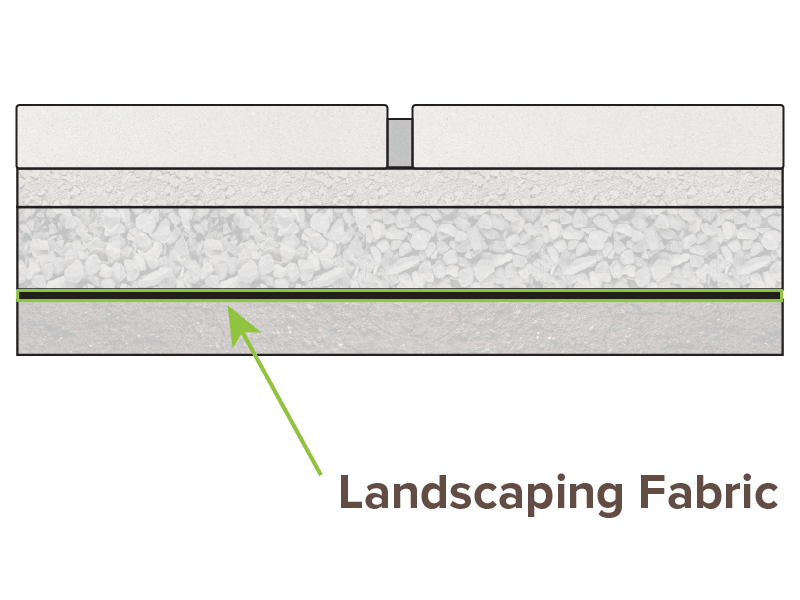
Step 2: Install Landscaping Fabric
- Roll out landscaping fabric across the entire compacted area, overlapping any seams by 6–12 inches.
- The fabric acts as a barrier between the subsoil and base material, preventing the gravel from migrating into the soil and reducing weed growth.
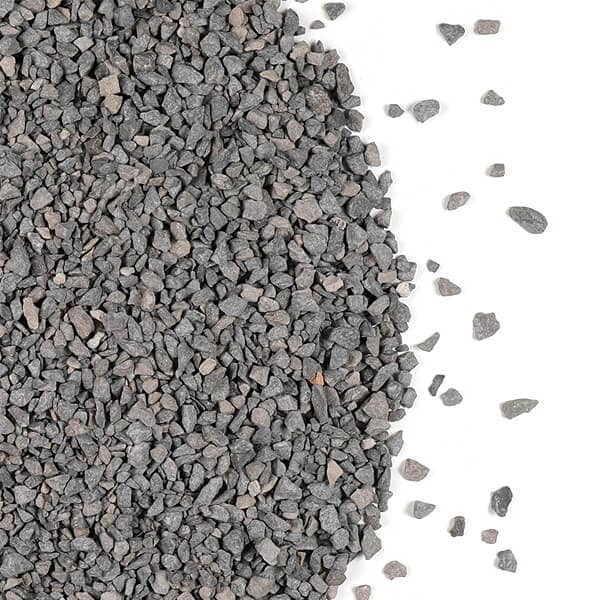
Step 3: Add 3" of 3/4" Clear Gravel or Limestone Crush
- Begin spreading 3 inches of 3/4" Clear Gravel, limestone crush, or recycled concrete to form the first lift (layer).
- Use a rake and shovel to distribute the material evenly.
- Keep a slight slope (about 1–2%) away from your house or garage to allow water to run off
Step 4: Compact the First Layer
- Use the plate compactor to compact this 3" lift thoroughly
- Make a minimum of three passes in alternating directions to lock the stone into place.
- Ensure each pass overlaps the last by about 50% for full coverage.
🛠️ Tip: Check your grade using a level on a long board. Adjust gravel height as needed before compacting.
Step 5: Repeat With Another 3" Layer
- Spread a second 3" lift of gravel on top of the compacted layer.
- Rake the surface flat, maintaining the desired slope.
- Compact this layer just like the first — with at least three passes of the plate compactor.
Step 6: Screed the Gravel Base
- Using a straight edge or screed bar, level out the top surface of the compacted gravel.
- Double-check your slope to make sure water will drain away from buildings or other structures.
- This surface should be flat, firm, and ready to receive the bedding layer.
Step 7: Add 2" of High Performance Bedding (HPB) or Screenings
- Spread High Performance Bedding evenly over the compacted gravel base.
- HPB is an open-graded aggregate that provides excellent drainage and workability.
- Avoid excessive depth — 2 inches is ideal. If you go too thick, your pavers may shift over time.
Step 8: Screed the HPB for a Uniform Bedding Layer
- Place 1" O.D. pipes or rails across the surface to guide your screed.
- Use a screed board or straight aluminum bar to level the HPB by pulling it across the guides.
- Carefully remove the pipes and fill the voids with more HPB, smoothing it out without disturbing the surface.
🚫 Do NOT walk on the screeded bedding layer.If needed, use plywood sheets to distribute your weight and prevent disturbing the bedding base
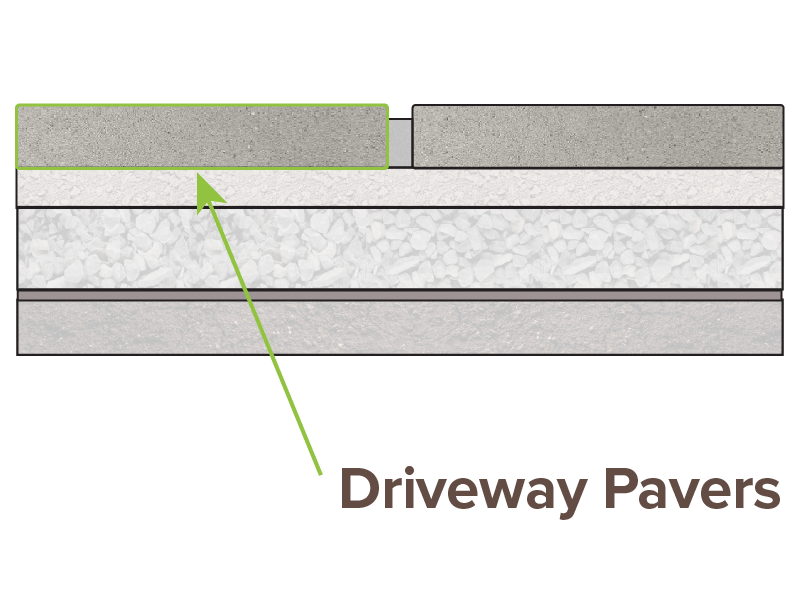
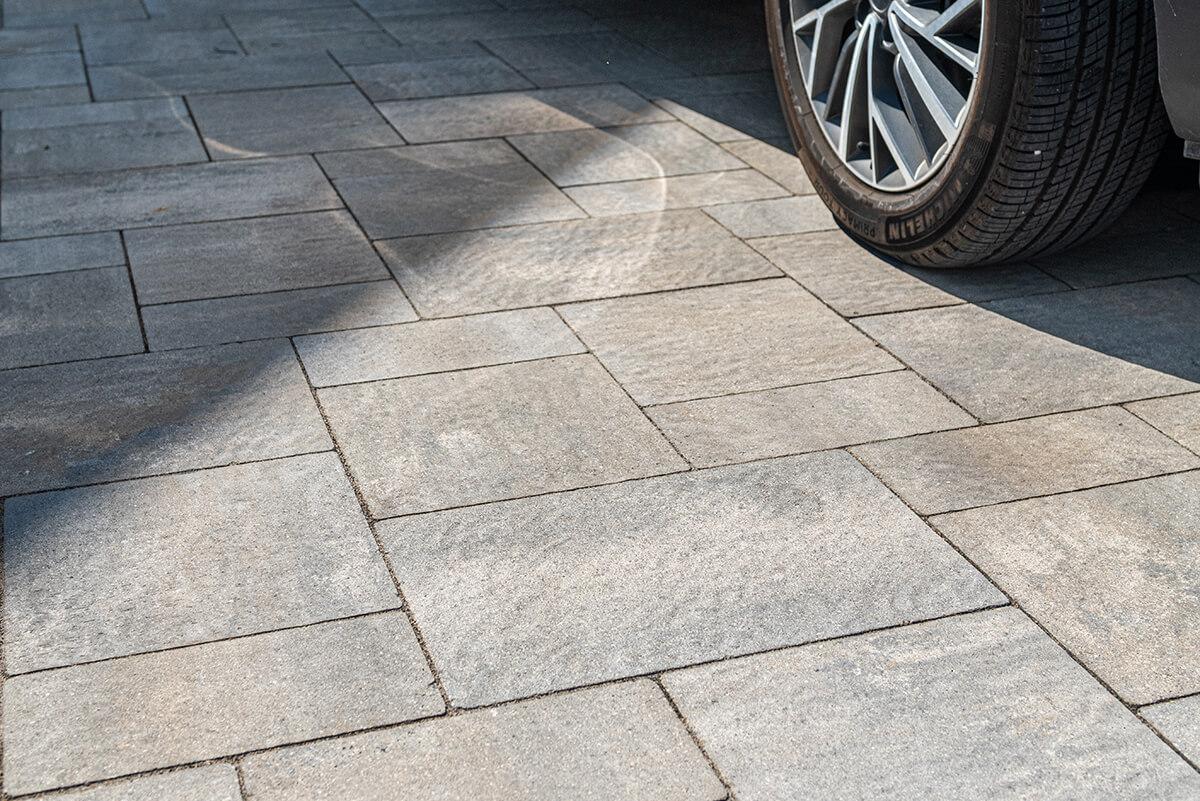
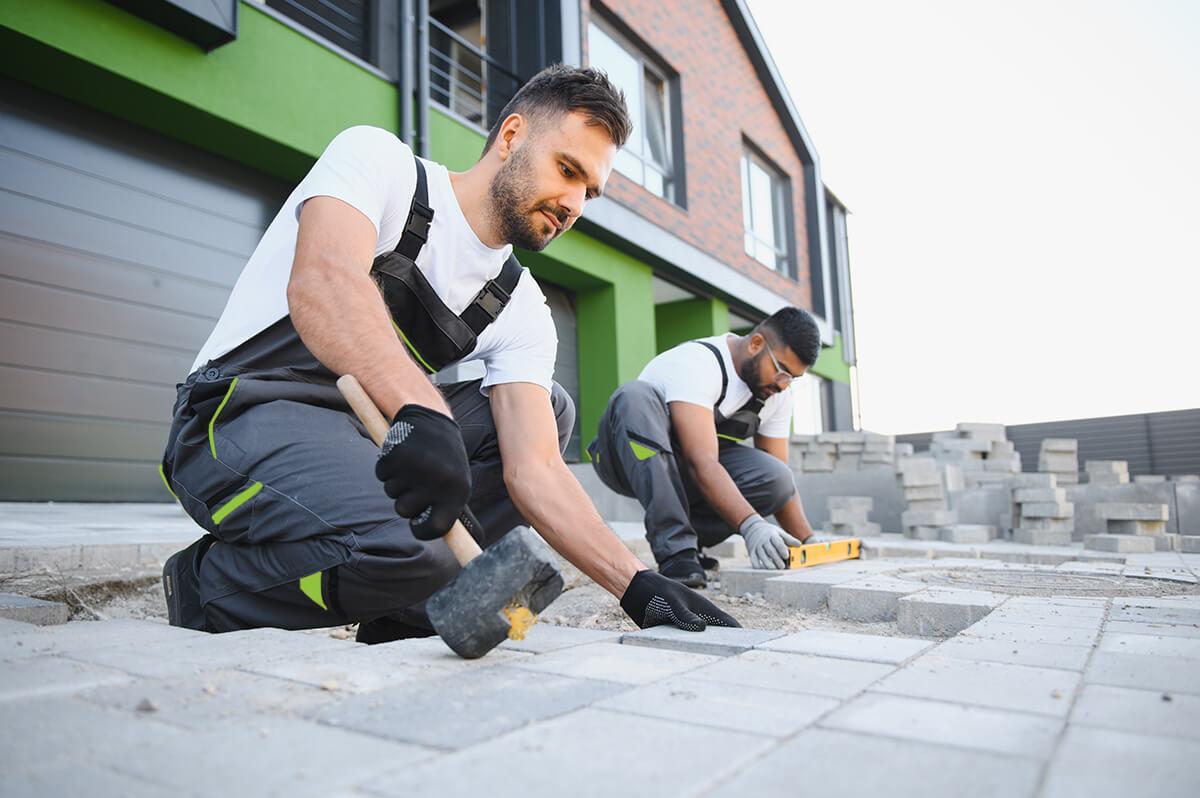
How to Install Driveway Pavers
With your base compacted and your bedding layer perfectly screeded, you're ready to begin the exciting part: laying the interlock pavers. This stage is where all your prep work comes together, so take your time to ensure each paver is positioned correctly.
Things to Consider:
- Blend Pavers from Multiple Bundles
- Pavers may have subtle color variations between production batches.
- To create a natural, uniform appearance, pull pavers randomly from multiple bundles or pallets as you go.
Check bundle tags before starting — if you have different batch numbers, alternate between them frequently during installation.
- Maintain Level and Alignment as You Go
- Use a level regularly to check that your pavers remain flat and even.
- Tap down any slightly raised pavers using a rubber mallet or adjust the bedding layer slightly to correct dips.
- Keep your lines straight by measuring from your initial chalkline and adjusting as needed.
- Lay pavers tightly together, but leave a small joint space (⅛" or so) for polymeric sand to settle into later.
Step 1: Start at the Garage and Work Outward
If you are installing border pavers:
- Begin at the fixed edge of the garage floor or another permanent structure and lay your driveway border pavers along the perimeter of the driveway according to your design plan.
- Ensure all borders are snug against the bedding layer and align neatly with string lines or straight edges.
Without border pavers:
- Begin at the fixed edge of the garage floor or another permanent structure.
- Lay the first row of pavers perpendicular to the house, ensuring the row is square. This alignment helps create a uniform look and reduces awkward cuts along the visible edge of the driveway.
- Use a square and chalkline to double-check that your first row is perfectly straight — this row will define the rest of the layout.
Design Tip 🎨Choose a border color or style that complements your home’s trim, garage doors, or roofline for a cohesive look.
Step 3: Lay the Main Paver Field in Your Desired Pattern
- Once the border is in place, begin installing the field pavers (the main area inside the border).
- Follow a consistent pattern such as herringbone, running bond, or basket weave — these offer strong interlock and visual interest.
- Use a chalkline to mark reference lines every few rows to ensure you're maintaining straight courses across the driveway.
Tip: Avoid long, continuous joints that run from one end to the other — stagger pavers like bricks to increase load distribution and prevent shifting over time.
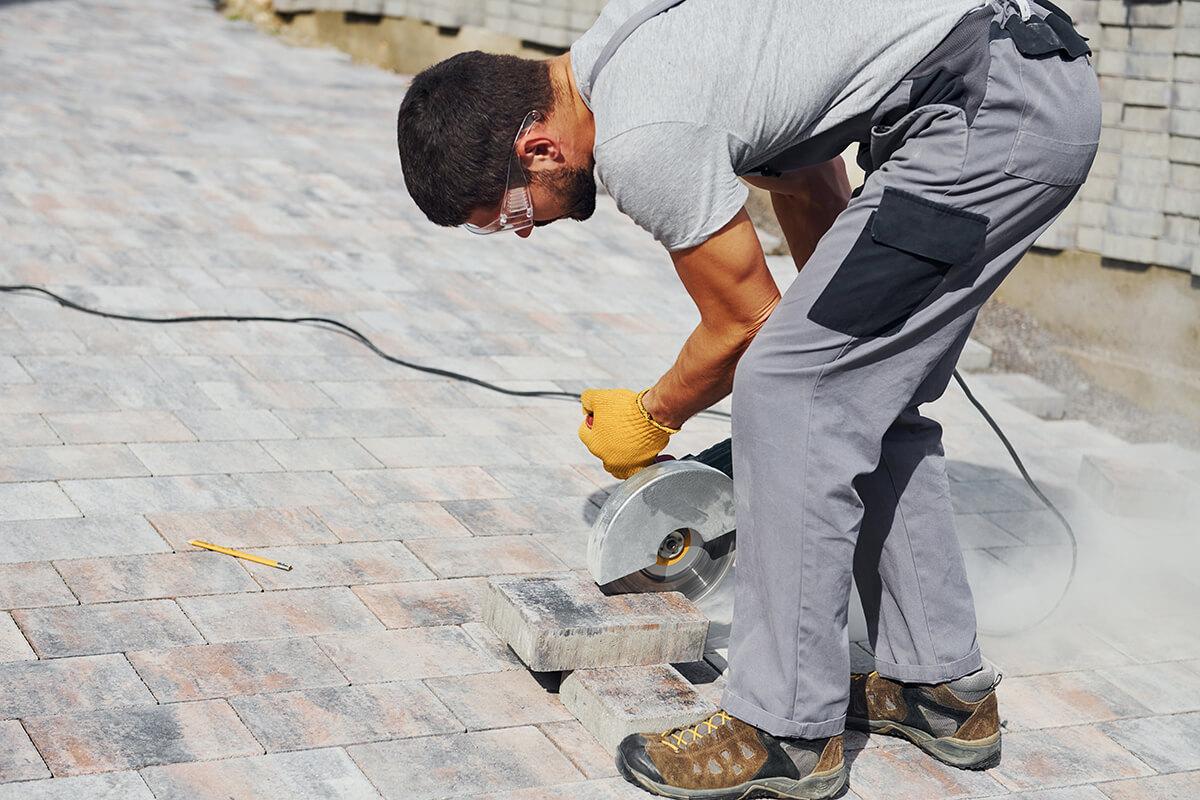
Cutting and Fitting Pavers for a Precise Finish
Driveway layouts rarely finish perfectly without custom cuts. Use a rented masonry saw for clean, safe cuts:
- Option 1: Cut Before Border Install: Lay the main field past the border line, then trim.
- Option 2: Cut After Border Install: Place the border, then cut individual pieces to fit between it and the field.
Don’t forget PPE — eye, hand, and lung protection is essential when cutting masonry.
Edge Restraints: Keeping Everything in Place
Your edge restraints hold the pavers firmly in place and prevent shifting.
Edge Restraint Options:
- Plastic edge restraint - fast, clean finish (most popular)
- Concrete curb – strong but harder to install
- Reinforced mortar wedge - great for curved designs
Install restraints directly on the base course, not the bedding layer, and secure with long spikes.
Final Steps: Compaction, Joint Sand, and Sealing
Compacting
Use a plate compactor with a polyurethane pad (available at Van Beek’s) to prevent scuffing paver surfaces.
- Make 3 passes in alternating directions
- Check alignment and color blending before final compaction

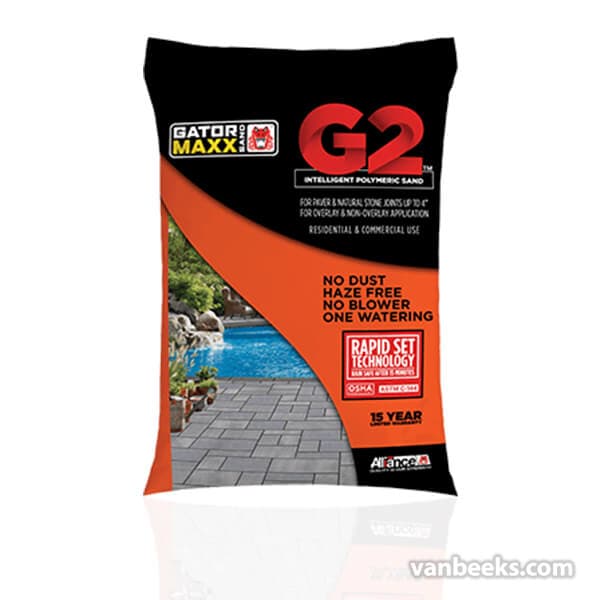
Polymeric Sand
Why Use Polymeric Sand?
✅ Locks pavers together, preventing movement over time.
✅ Prevents weed growth between the joints.
✅ Minimizes water erosion, reducing the need for future reapplications.
✅ Deters ants and other insects from burrowing under the pavers.
✅ Available in multiple colors to enhance the overall design of your patio.
Installation Steps:
- Sweep sand into the joints.
- Lightly mist with water to activate the bonding agent.
Always follow the manufacturer’s instructions.
Sealing (Optional)
A high-quality sealant enhances color, protects from stains, and reduces fading. Consider applying it for high-traffic areas.